AR Build for Rookies Part 4: Barrel & Foregrip Installation
December 22, 2021
T.A. Harrison
This is the fourth and final part to the AR Build for Rookies series—all in photos—and I’d kindly suggest that if you’ve not already done so, go back and start this series from the beginning to help you in your build. Here are Part 1, Part 2 and Part 3.
As it has been thus far, I’m happy to share my mistakes as we go along in an effort to help you avoid making the same frustrating mistakes. This has been a fantastic experience, and I hope to continue this series with a short list of accessory installs—so stay tuned for more.
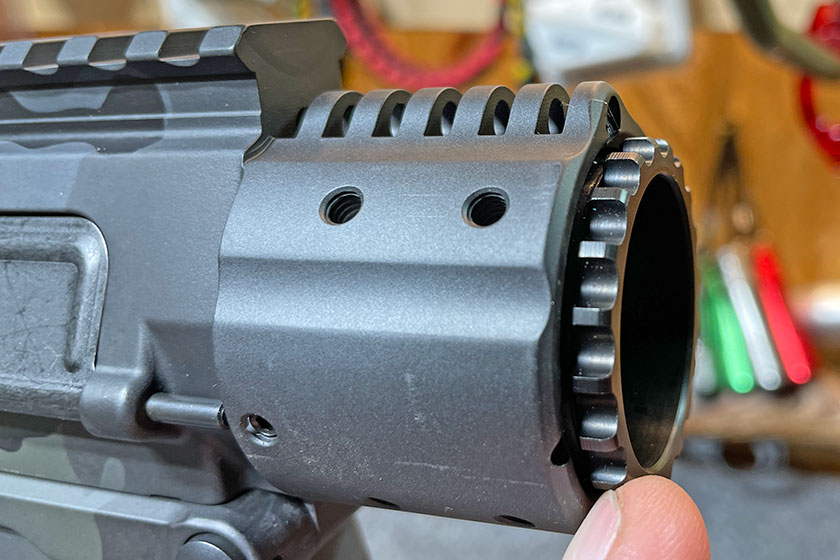
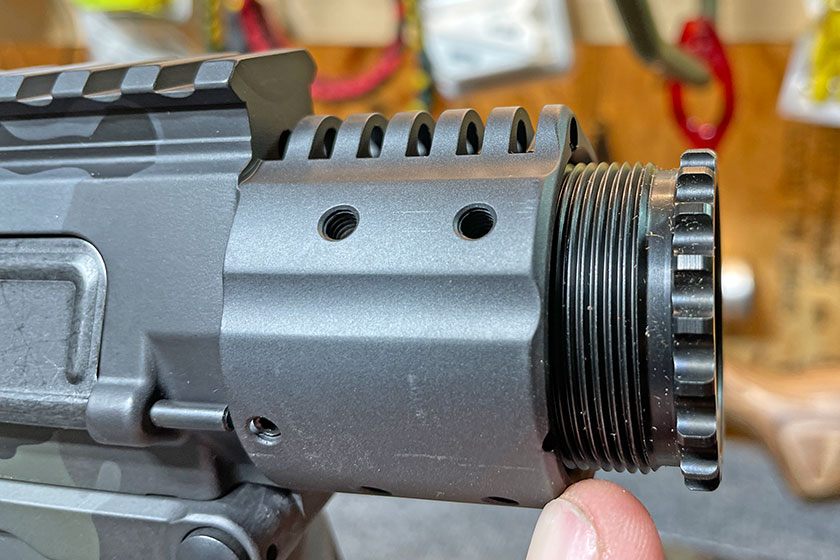
Here is a shot of the barrel nut that comes attached to the front side of the Upper Receiver.
You’ll need to remove the barrel nut before you line up the barrel itself.
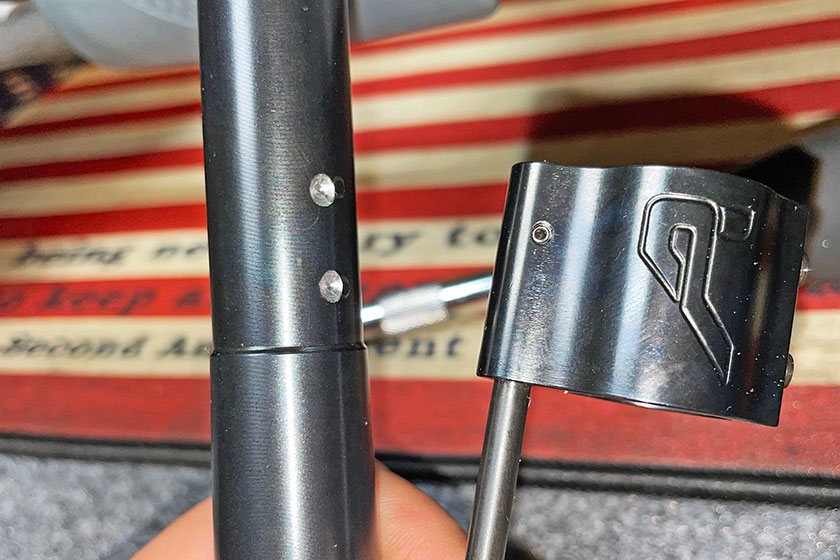
I found it easier to do this next part with the Gas Block and Gas Tube removed from the barrel.
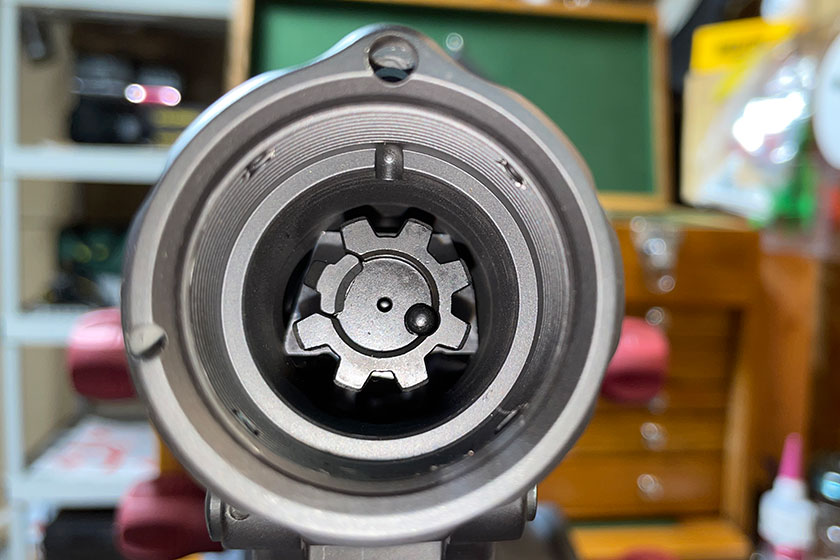
In this photo, you’re looking into the Upper Receiver from the front, the back of the barrel will slide in here. Notice the notch on the top inside the threads.
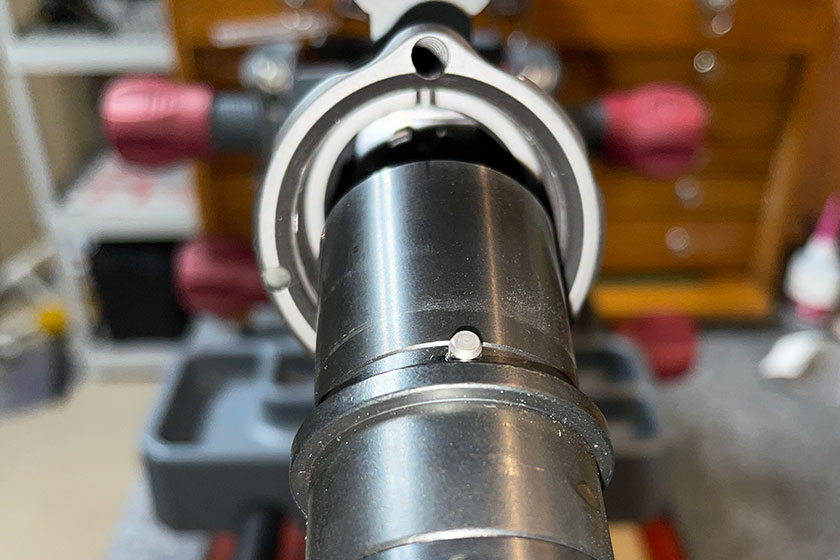
You’ll want to slide the small pin into the notch inside the front of the Upper Receiver. It should slide right in, but will require the barrel nut to fully secure it to the Upper Receiver.
Slide the barrel nut back over the barrel.
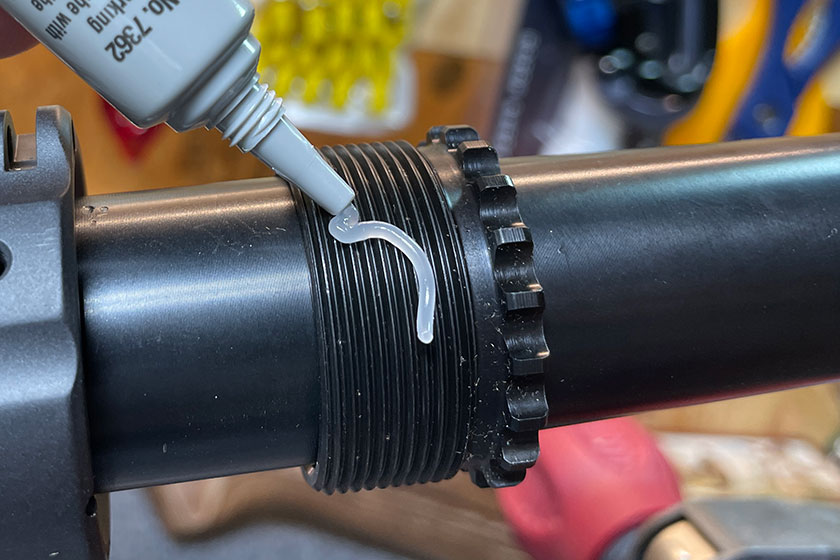
With the barrel in place, begin screwing the nut back into the Upper Receiver. A little more than a dab to spread across as many of the threads as possible.
I added a little anti-seize to make removing the barrel nut a snap when the time comes for a cleaning job.
Screw it in …
All the way to where it’s snug. This is where I ran into some issues. The specs call for this nut to be torqued to 35- to 80-foot pounds. That’s quite the range, and frankly if you’re familiar with torquing things down, it’s confusing. Across my research about how to accomplish this, I learned that these nuts change in style and formation on the regular, making it critical to use the right tool, but not every tool will work. I didn’t have a wrench of any sort to get this done. Although, there is a torque bar included in the Wheeler AR Armorer’s Ultra Kit, that will help put the tool in the next slide to work.
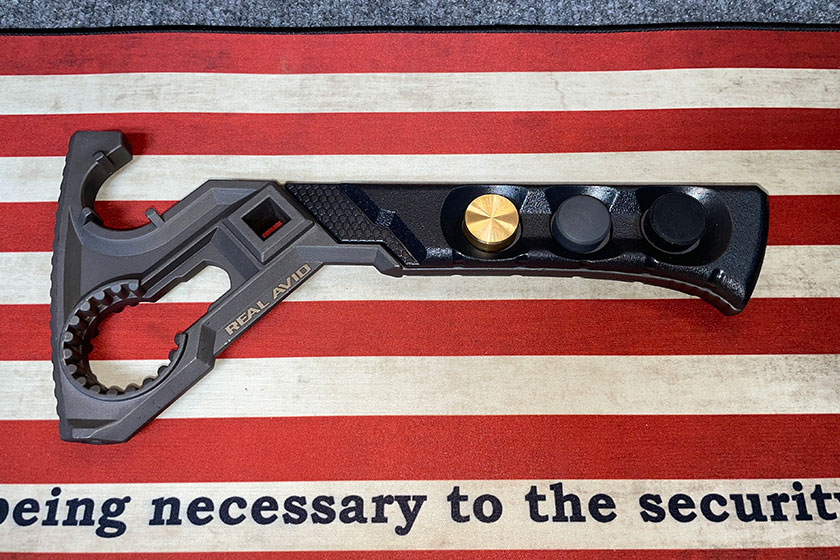
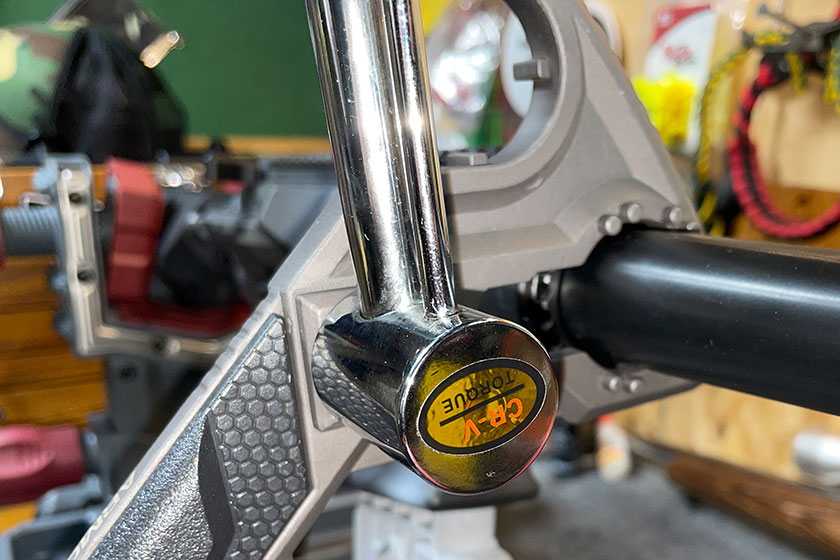
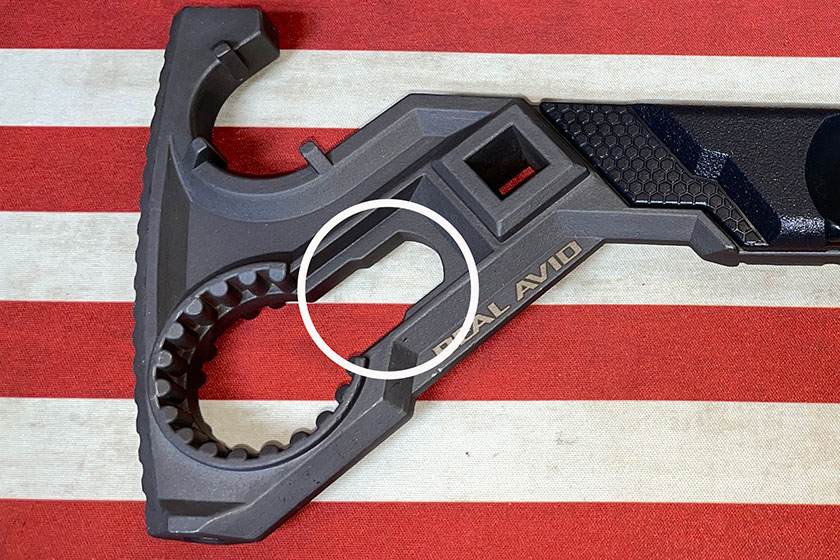
After searching around the interwebs, I found this thing. It’s the Real Avid Armorer’s Master Wrench, and it proved valuable for this build, and I intend to use it for upcoming builds. It’s got a ton of applications, not the least of which is the wrench that fits the specific barrel nut within this kit.
You can mount the torque bar on the Armorer’s Master Wrench like this to apply the necessary 35- to 80-foot pounds of torque. This is where I ran into a bigger problem. Scroll on …
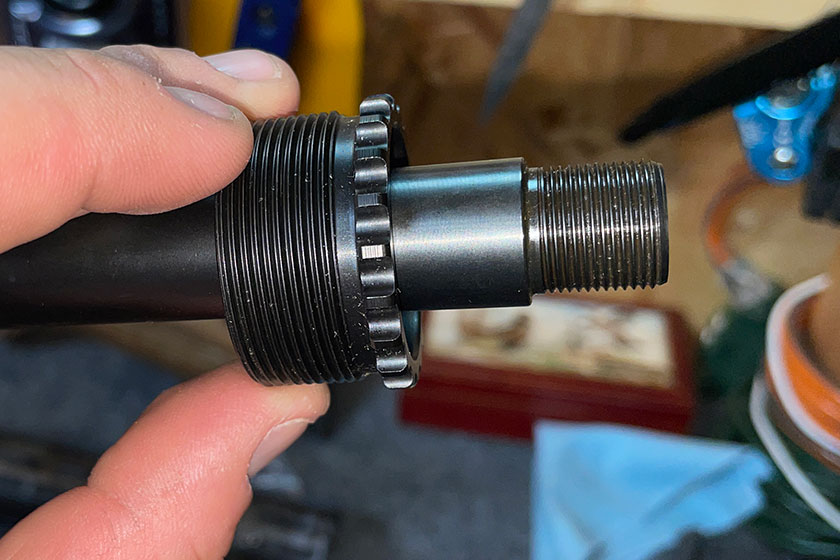
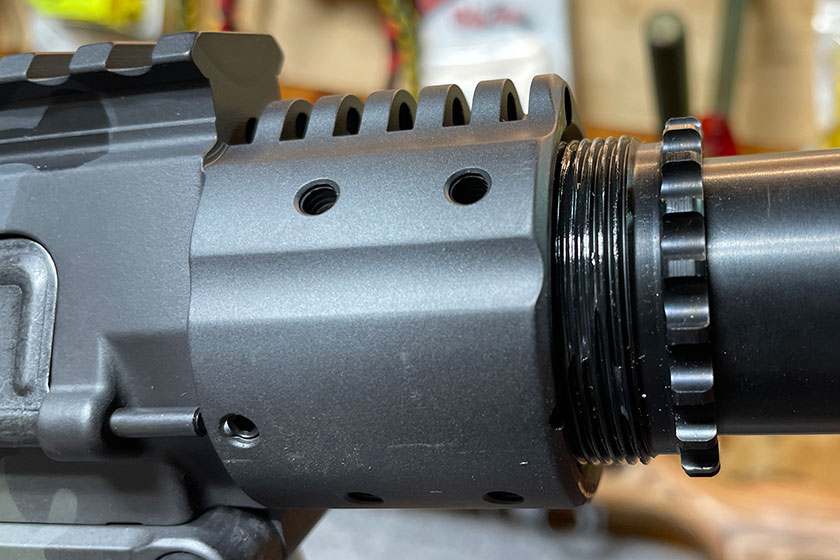
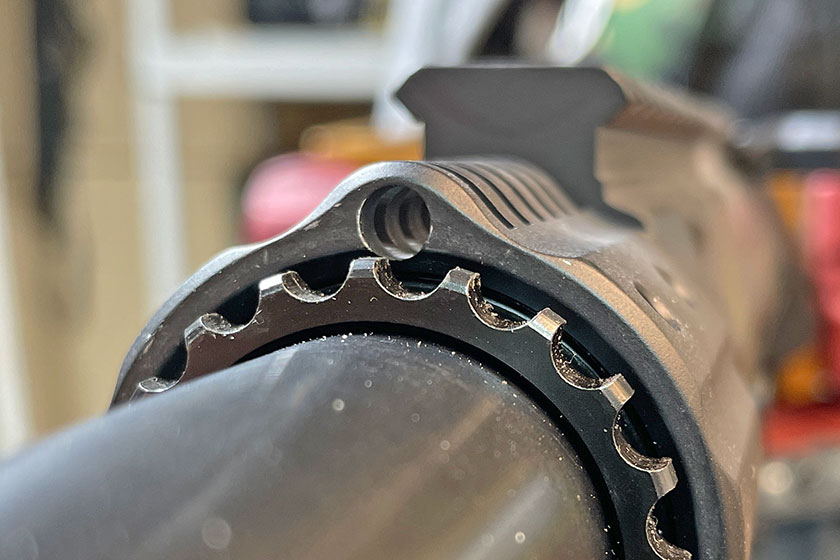
The little ribs that make up the outside of the nut were meant to be positioned so that the Gas Tube can easily pass through the “valley” between two of the ribs shown here. In this current position, the nut was torqued to 35-foot pounds. Because of the fine threads on this nut, it won’t travel very far to achieve more foot pounds. In other words, adding more torque won’t move the nut very far.
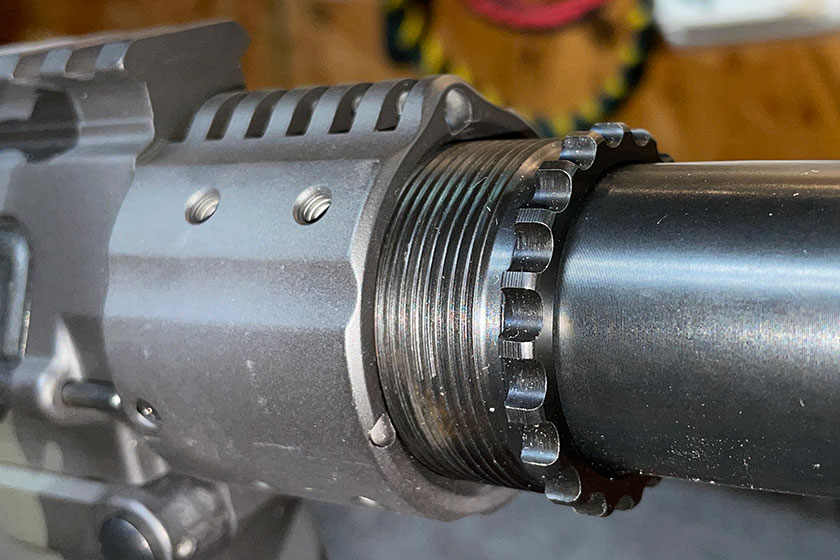
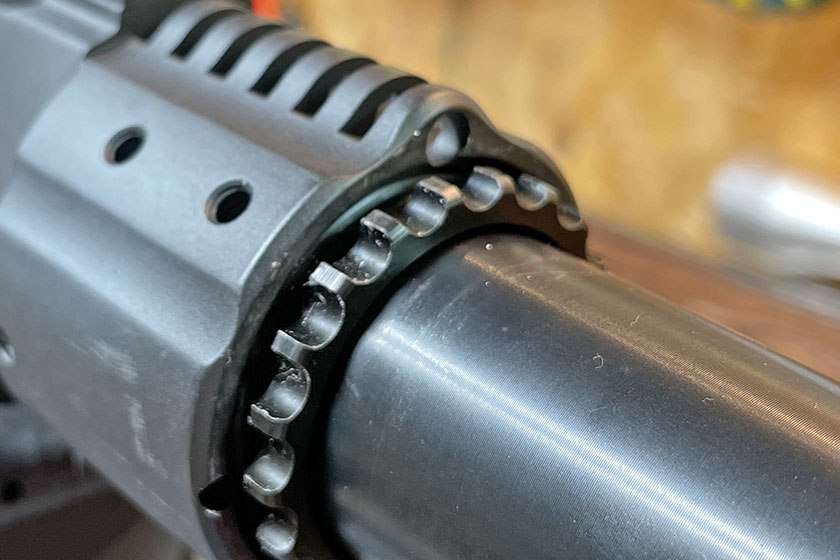
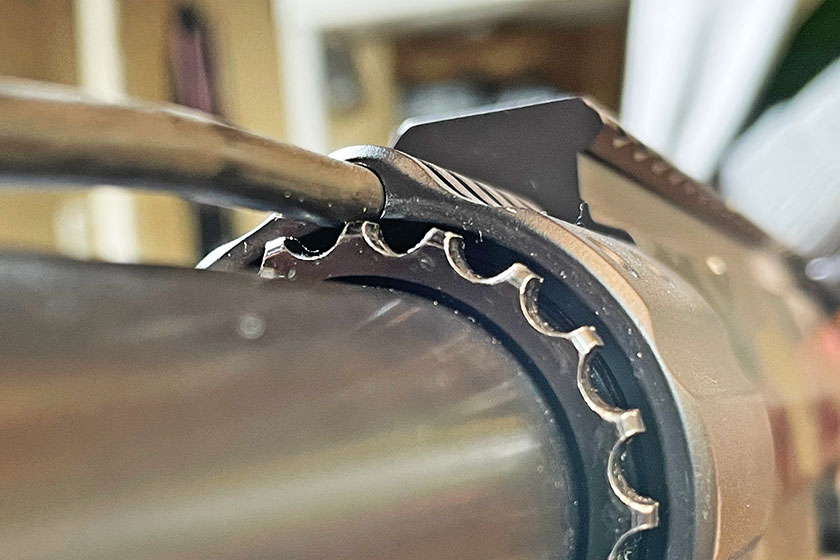
In this picture you can see how the nut has turned a tiny bit, but is nearly at 80-foot pounds, and getting it far enough for the Gas Tube to pass through the valley was almost impossible. I feel like if there were perhaps a few gaps to allow for a small margin of error—if you will—to get the nut into position to allow for a clean pass-through of the Gas Tube. Maybe I did something wrong here, but I’m at a loss as to what it could have been. I said a lot of cuss words during this process, and I was able to get the Gas Tube where it needed to go without any binding or bending. So, it worked out in the end.
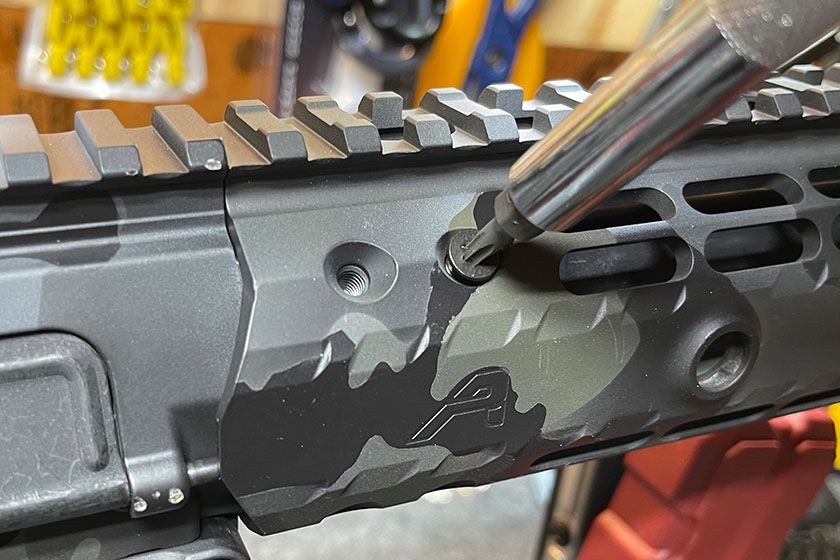
It slides on, and you’ll be lining up these two sets of holes. The foregrip slides back over the Upper Receiver. Easy.
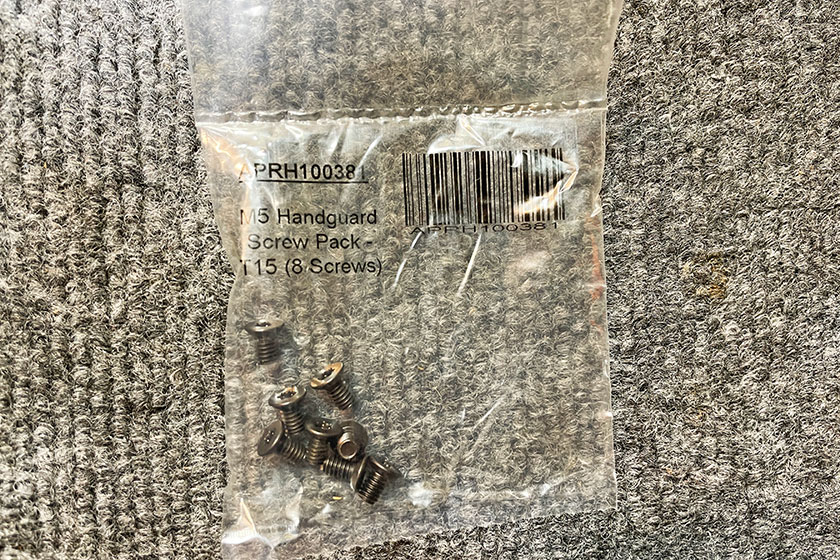
This little bag of screws is important. Make sure you don’t throw it out with the trash like I almost did.
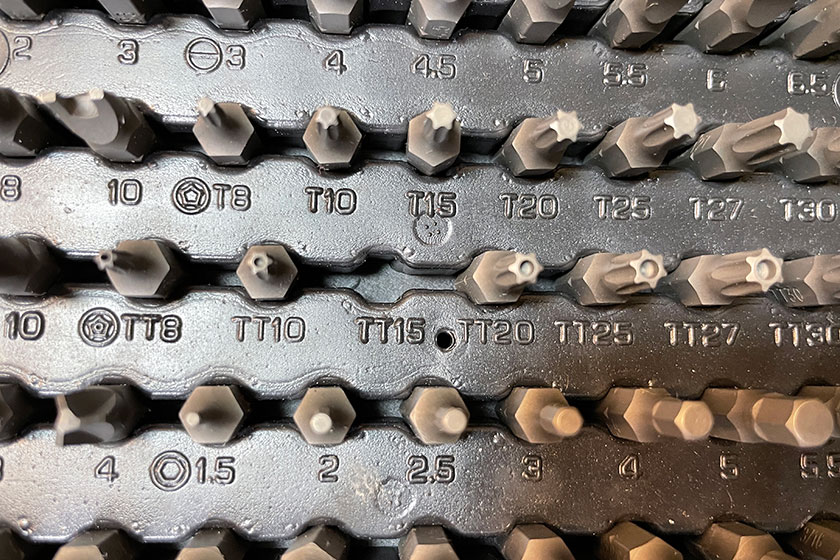
Back to the Masterforce Drive Bit Setit came in real handy once again—solid investment. The torque bit I needed was the TT15.
Tighten these down.
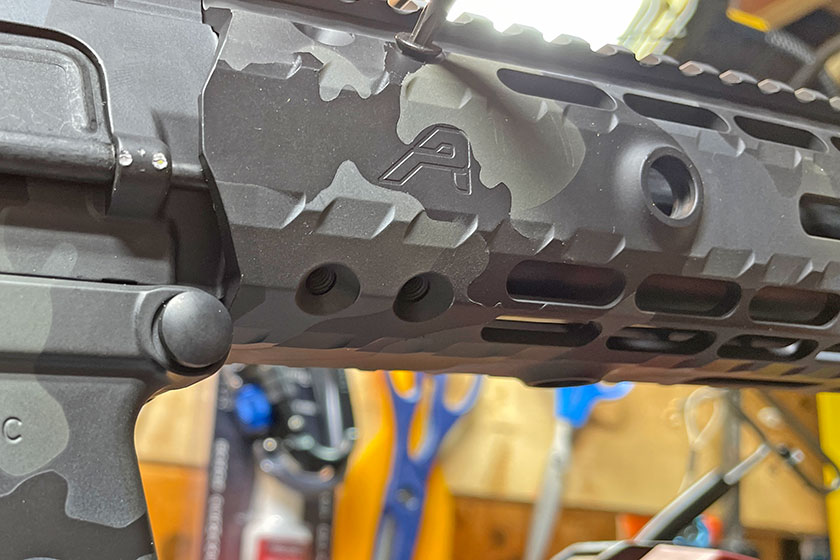
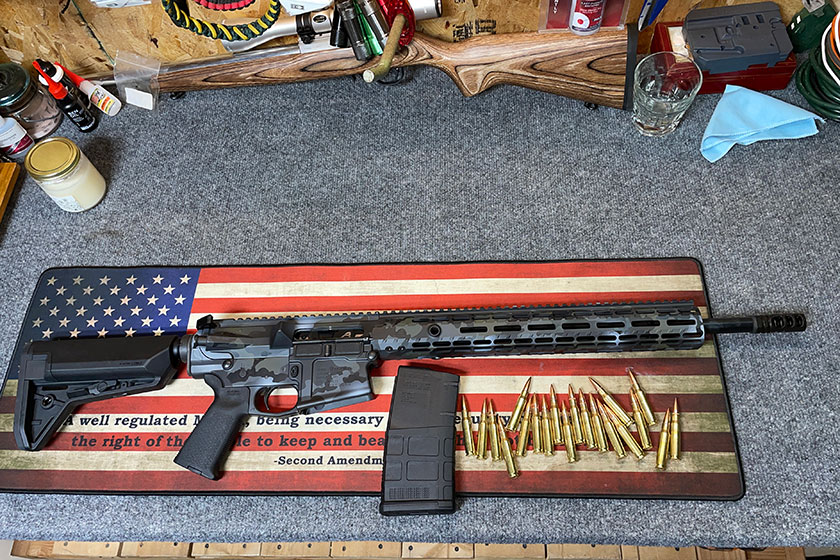
Two more beneath the top two. And the same four screws on the opposite side. This is a floating barrel design that will improve accuracy—and it looks badass.
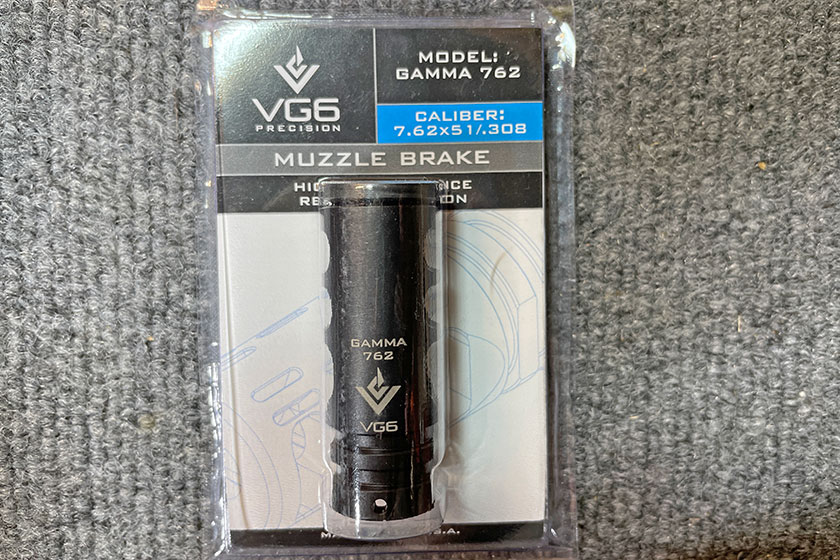
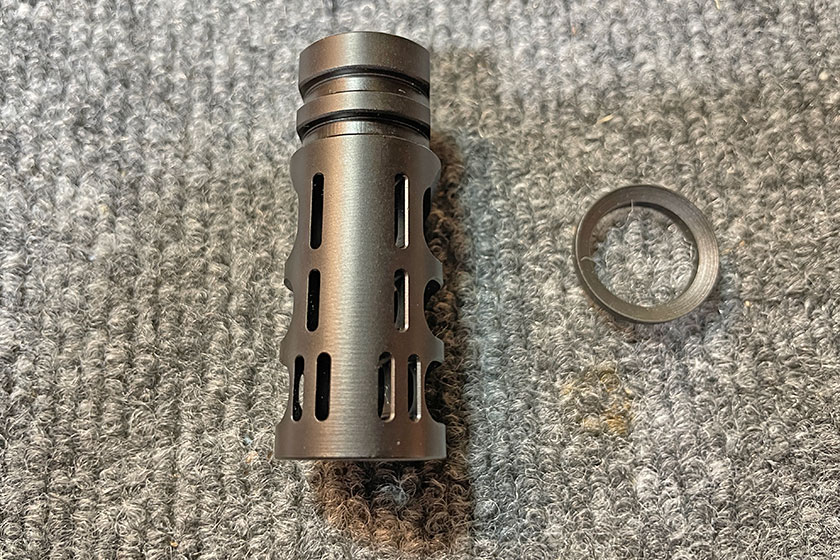
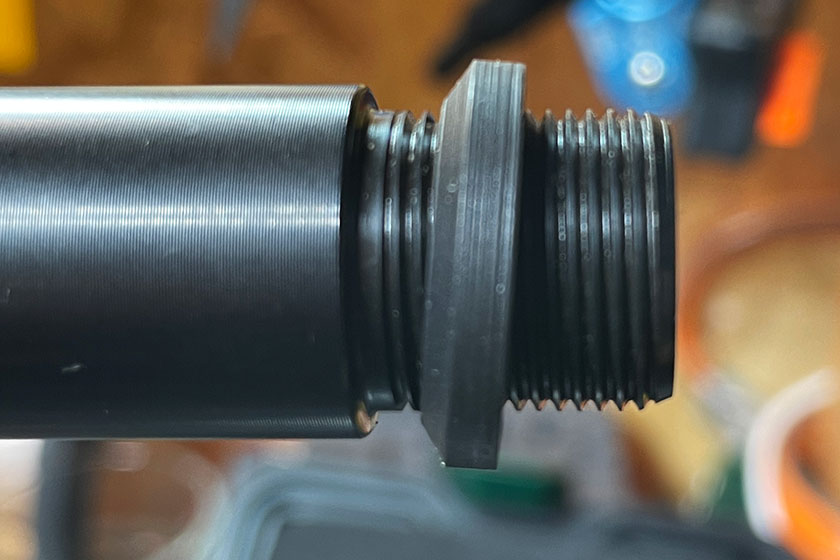
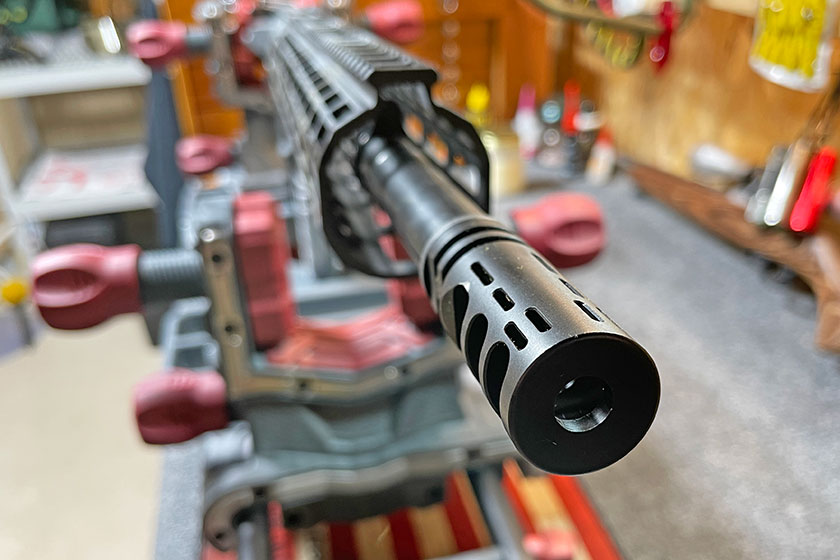
Here it is out of the package with the crush washer to the right, and the muzzle break in position. This is the top of the muzzle break, so when it’s on and cranked down, it should look like this—the lettering goes on the bottom.
The crush washer goes on first, in this position.
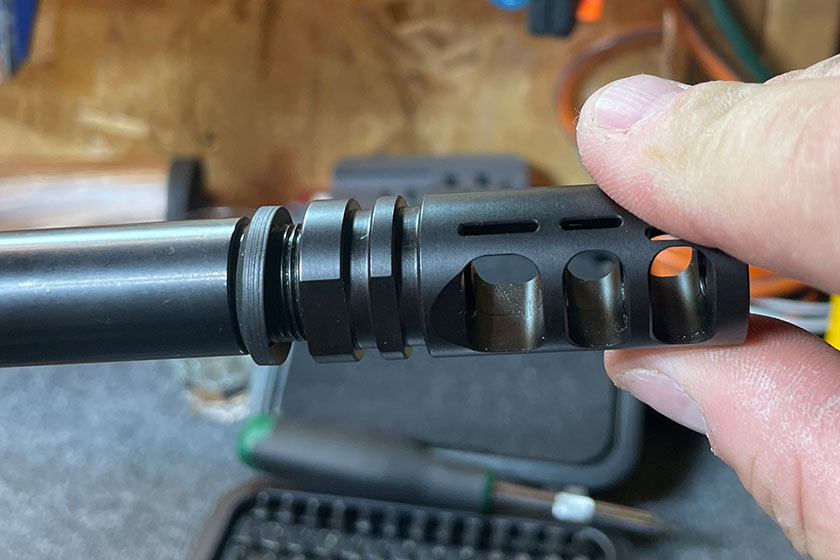
Turn it on by hand until snug.
Then tighten it until the top of the muzzle break is facing up. This is probably not the right way to achieve the needed position. In fact, after I got this part done, I did some digging and there seem to be some tools that will help with this.
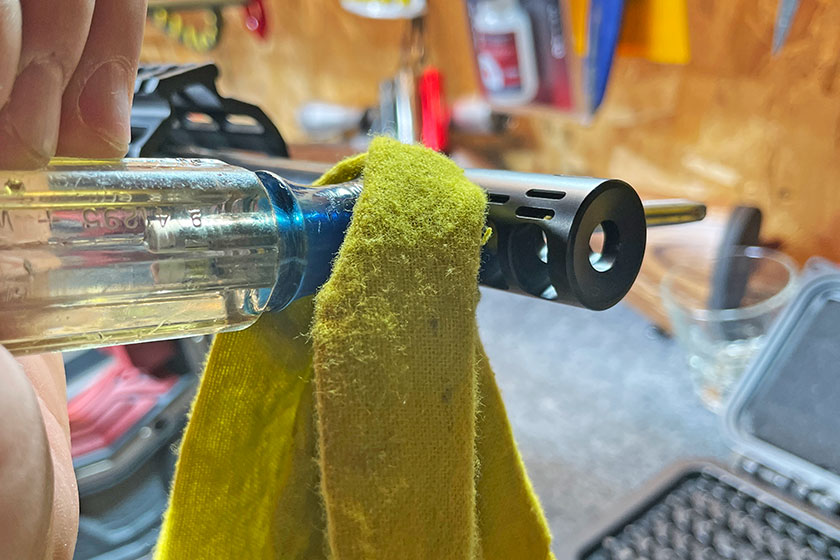
Funny thing, I found out afterwards that I could have used this part of my Real Avid Armorer’s Master Wrench to crank down the muzzle break—at least I think that’s what it’s for. I tested it afterwards and it worked fine.
Looks pretty good on there.
All done.
I picked up a Magpul 20-round magazine and plan to add a handful of others to the mix. One is never enough.
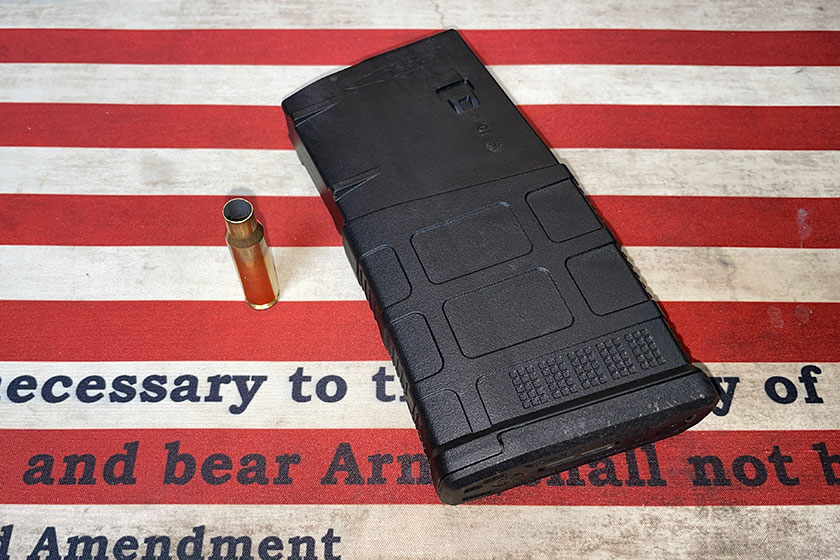
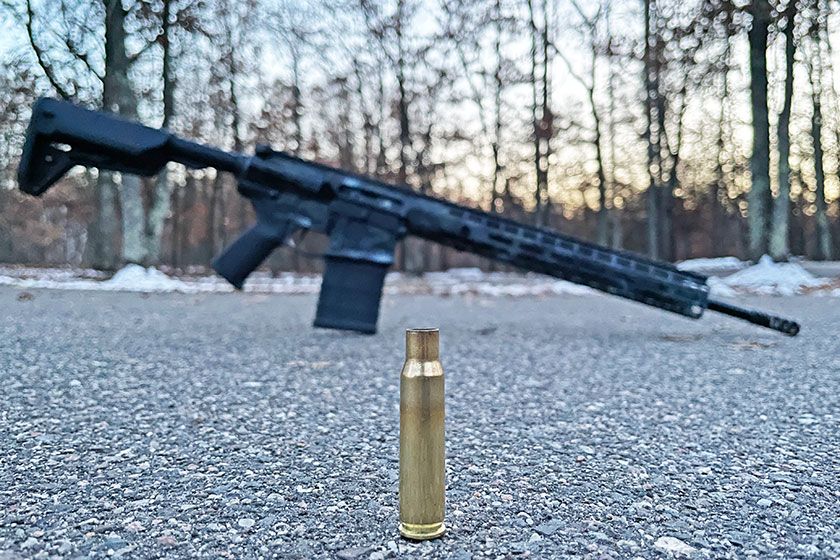
The first bullet shot perfectly and cycled without hesitation. I learned a tremendous amount about this process, including some things I’ll do differently next time around. But I really enjoyed it, and it’s safe to say I’ve found a new addiction. Stay tuned for a few more installments in this series as I accessorize the rifle with a few things, such as a scope, bi-pod, strap and flashlight maybe. Thanks for following along this far! I hope you learned a thing or two.
This is a good way to end this gallery. Haha! ~ Tom H
Tom Harrison
Tom Harrison is lifelong Midwesterner and a 25-year veteran angler, whitetail and turkey hunter. His experience extends from the bass rich waters of Mexico well into northern Canada, he's successfully hunted turkeys in 13 states, whitetails in five states and one Canadian province. Harrison has been producing instructional content, speaking at tradeshows and outdoor talk radio/podcasts and creating videos for two decades regarding both the hunting and fishing in an undying effort to help others be the best they can be in the outdoors. His overall goal is to make success commonplace on the water or in the woods through hard work and a strong desire to learn.
Recent Articles
Gun Talk Media Launches New TV Network
One Rifle for Every Hunt: The Browning X-Bolt 2 Special Max LR SPR Is the Do-It-All Bolt Gun 2026 Needed
S&W Just Dropped the Most Thoughtful Lever-Action Commemorative of 2026. Two Origin Stories. One Beautiful Rifle.