I’ve always been a DIY junkie. I’ve built treestands, welded climbing sticks, built turkey calls, I cut and fletch my own arrows, pour fishing jigs and soft-plastic baits, and the list goes on. I find a certain satisfaction in doing it myself, but the insider knowledge you garner by building things is irreplicable.
I certainly had that in mind when it came to this project, but honestly, I like the fact that I built a custom AR at a fraction of the price when compared to a fully assembled rifle at retail.
As a storyteller, I wanted to share my experience as I navigated my way through my first AR build. I’m shameless in the fact that I don’t mind sharing my mistakes and missteps that typically require a do-over. It was intimidating at first, but after my first time through it, I can say without a doubt it’s far easier than I originally expected.
My goal in this series is to help you learn from my mistakes. In Part 1, I’ve created a detailed photo gallery that shows step-by-step the process to assembling the entire Lower to an AR10.
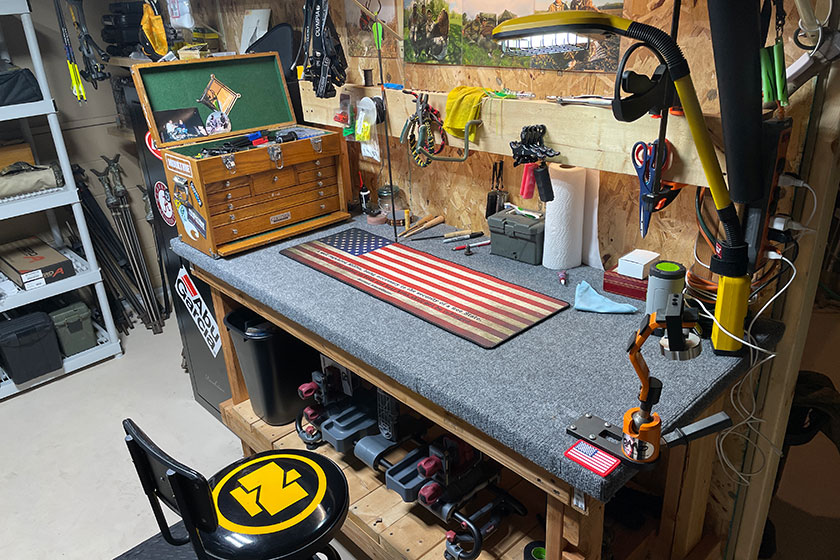
The first step is identifying a space in your shop or home where you can tackle this project with confidence. I’ve got a small gun/archery shop set up in the back corner of my basement, and not only is it convenient, but it’s also inviting and private. The perfect shop for this job.
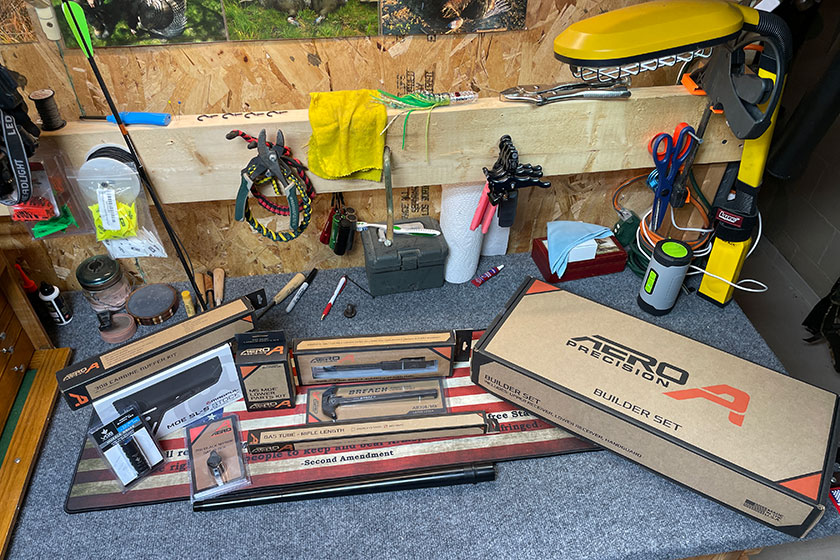
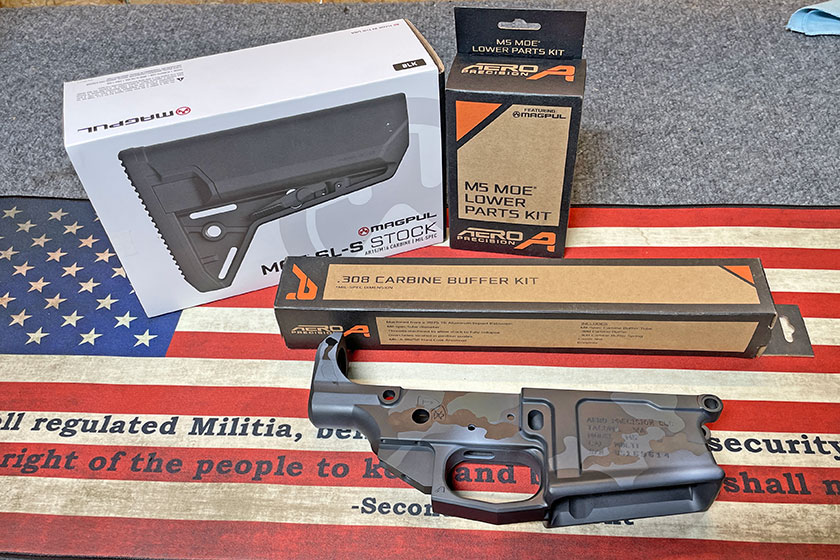
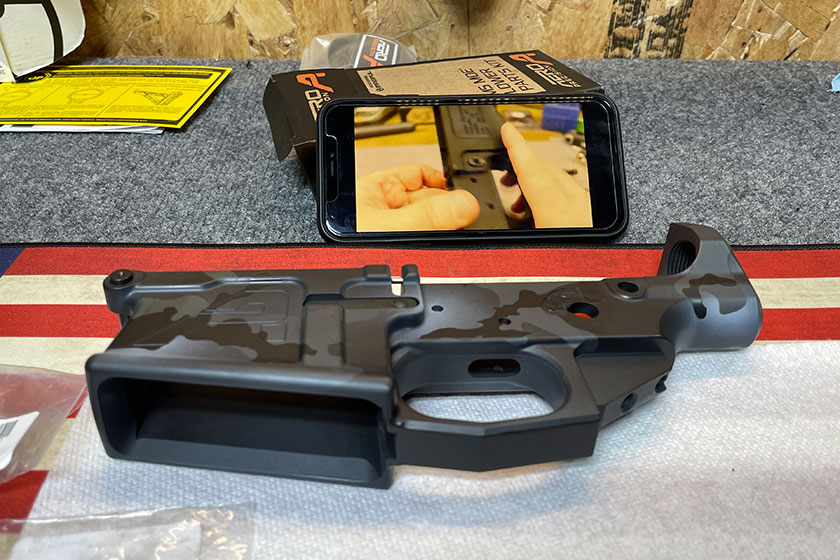
Here’s the full Aero Precision kit seemed smaller than what I expected, but the end result is pretty cool.
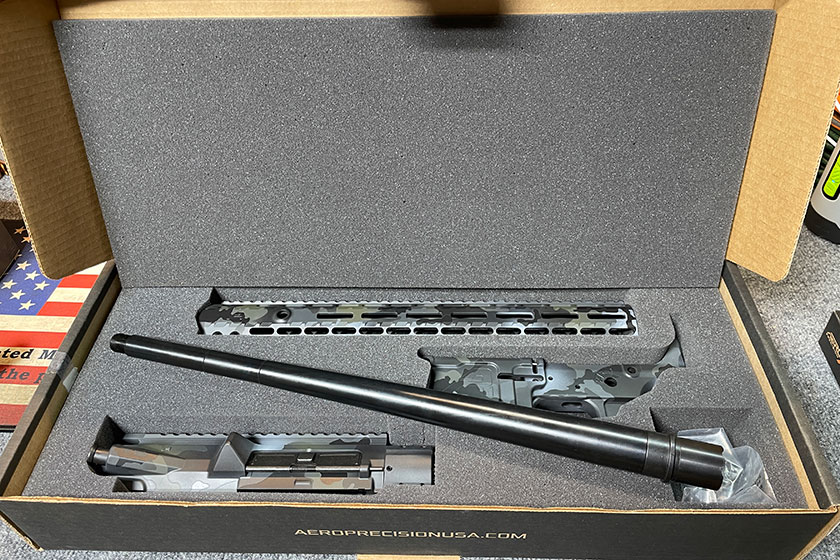
I picked an Aero Precision Builders Set. his one in particular features a 15-inch Enhanced M-LOK Handguard—Midnight Marshland Builder Set. It retails for $539.99-$614.99. This kit includes an M5 Stripped Lower Receiver, M5E1 Upper Receiver and Enhanced Gen 2 handguard of choice. It’s important to understand that these kits - because of the lower - must be transferred through an FFL, and depending on where you call home, that might cost some extra money. In my state, it cost me $83. But when considering full retail on an AR, I was still happy to pay it.The barrel is not a part of this portion of the kit even though it is pictured here and must be purchased separately.
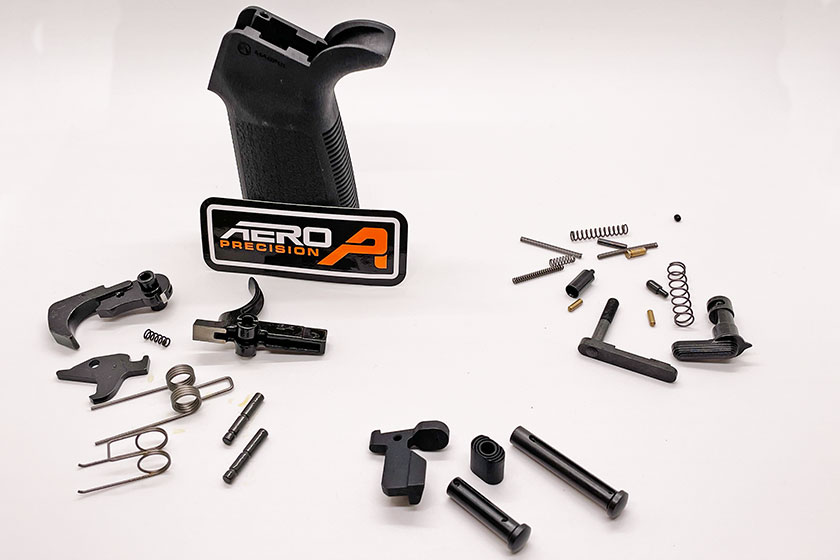
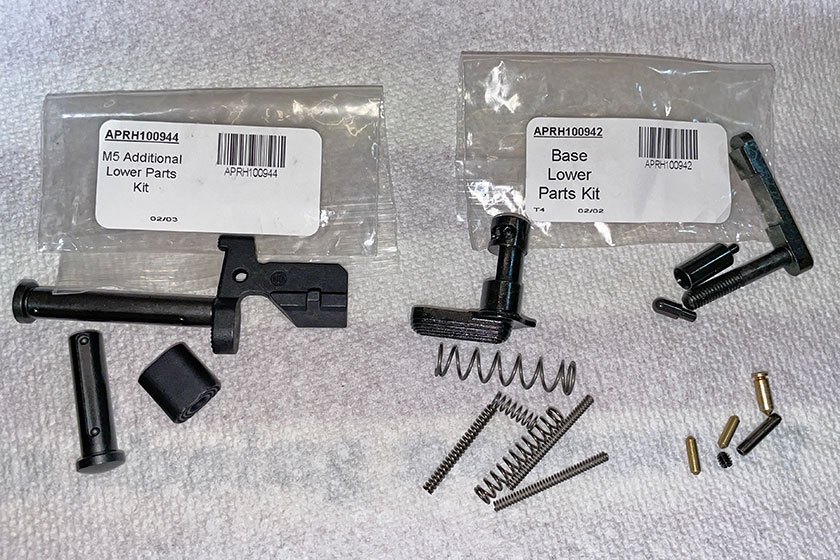
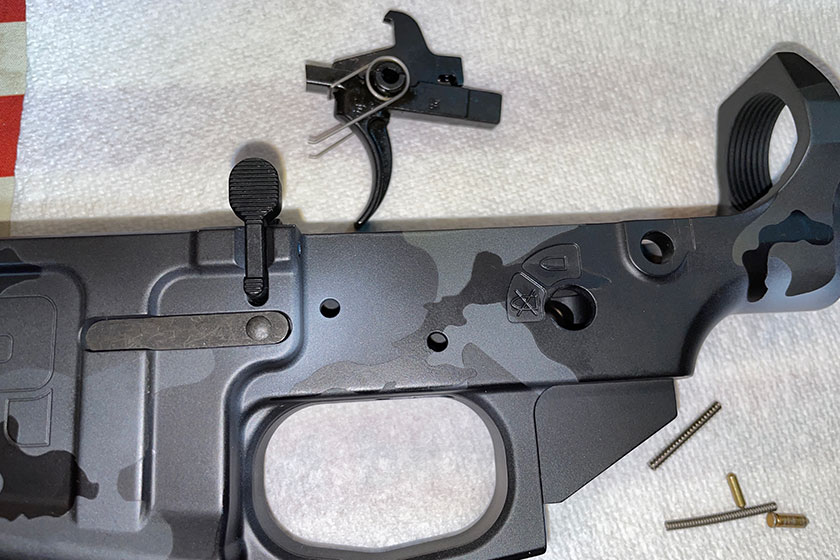
Here’s a shot of the M5 MOE Lower Parts Kit broken down into the individual components.
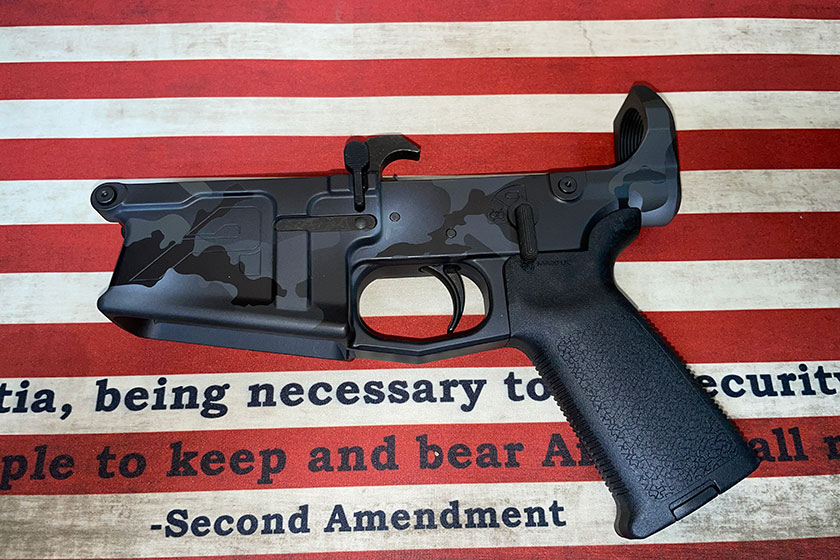
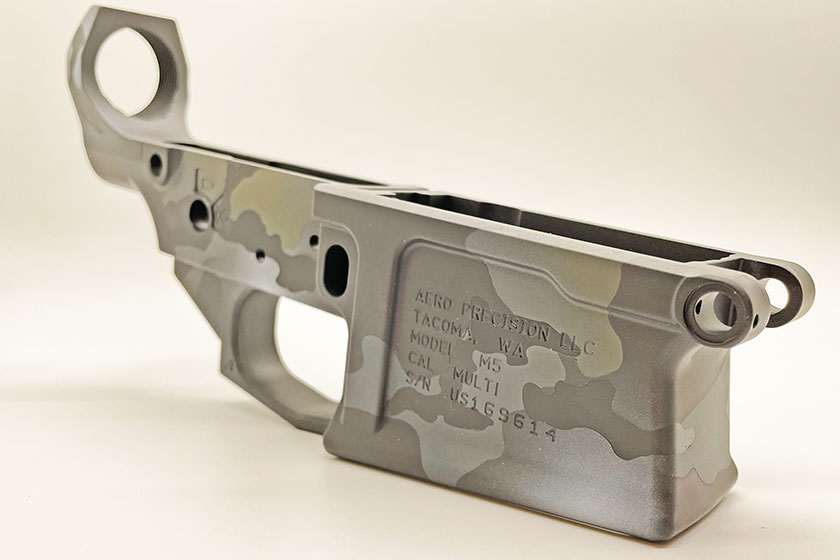
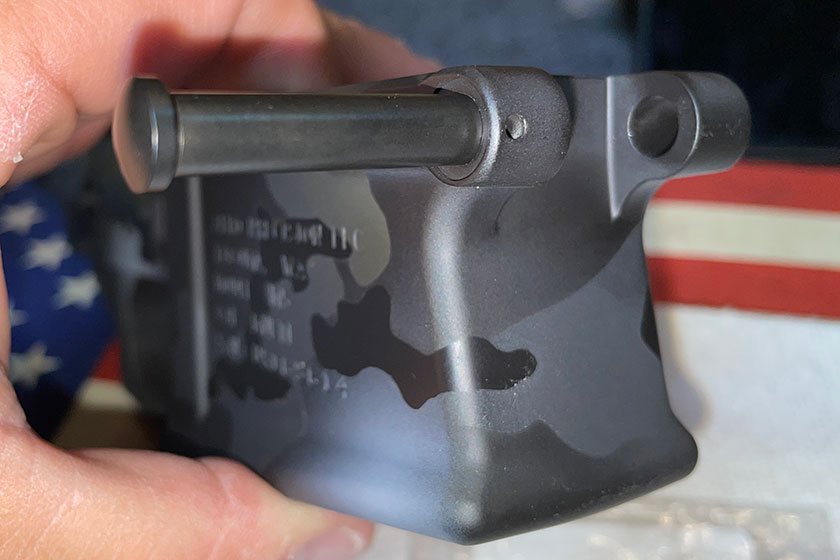
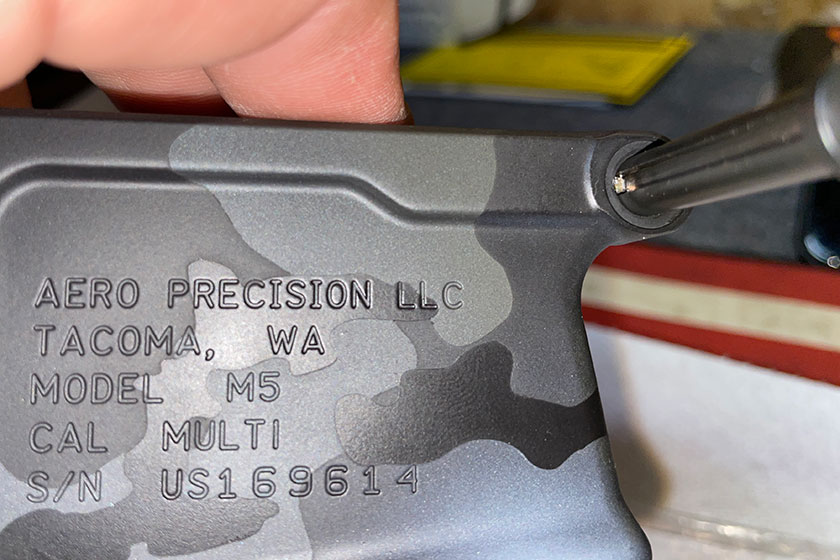
A closer shot of the Stripped Lower Receiver. Talk about a cool paint job!
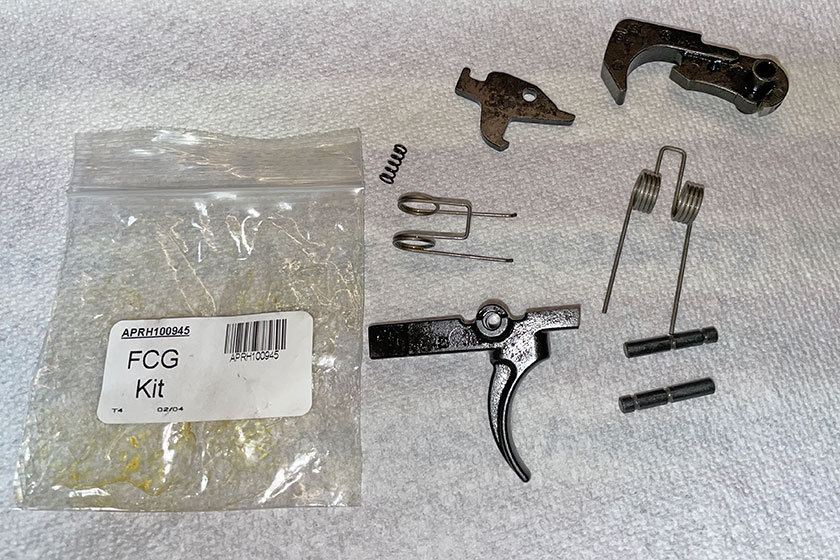
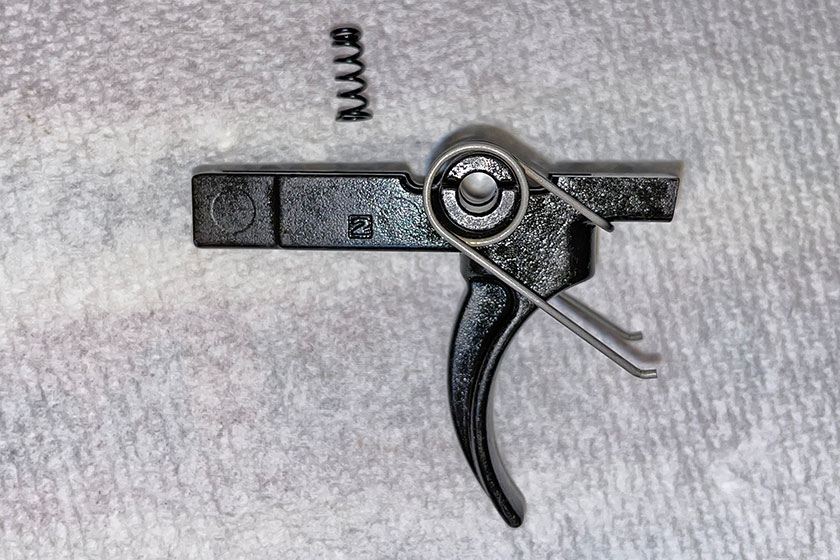
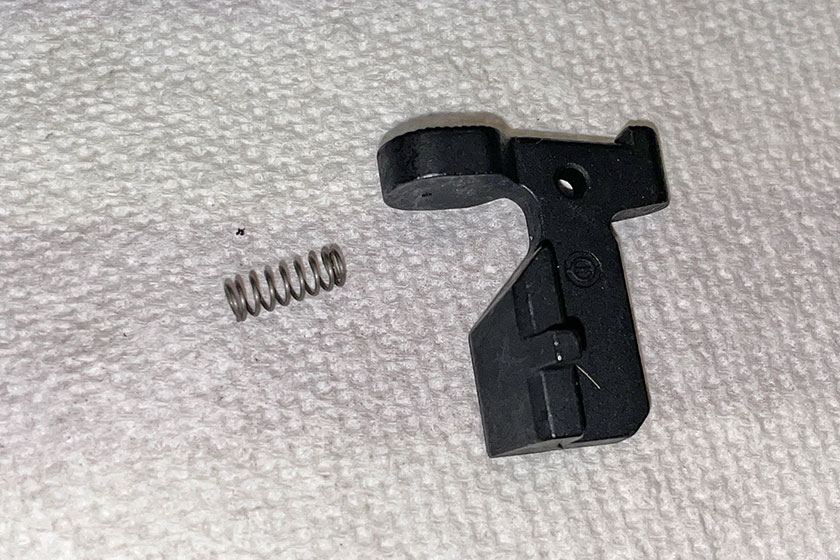
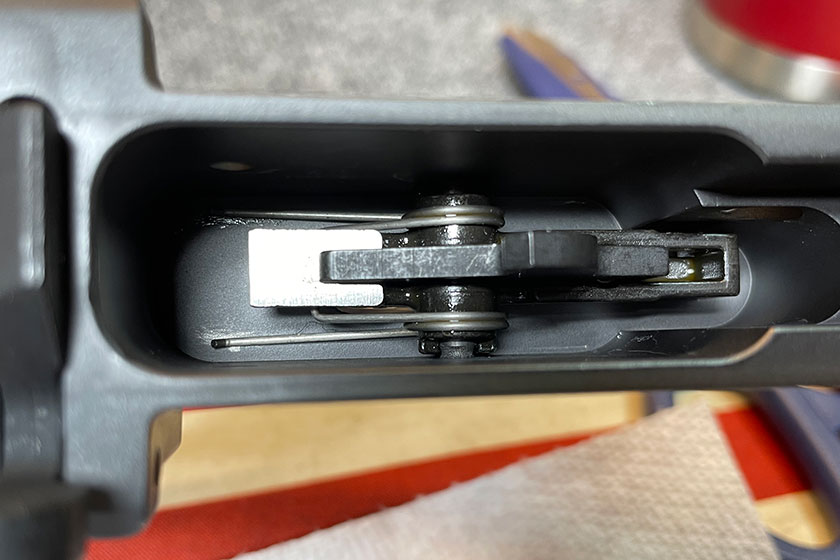
This shows each component to the Fire Control Group, or in other words for noobs like me, the trigger, springs, and whatnot. Again, this is included in the M5 MOE Lower Parts Kit.
Here is a picture of how the Disconnector Spring fits onto the trigger. The spring fits inside the housing directly beneath where the spring is located, but the important part to note here is the base of that spring is wider than it is on the top. Make sure the wider, bottom portion of the spring goes bottom-first into the housing.
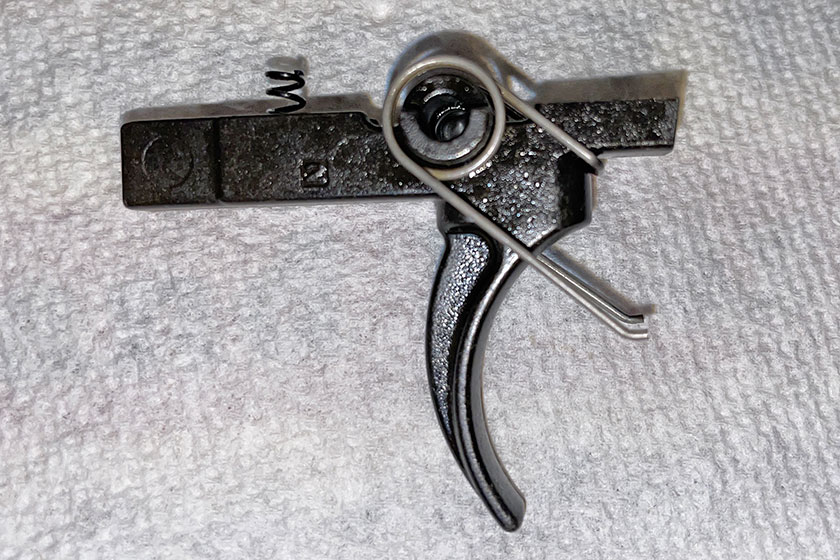
Here is the Disconnector Spring and Trigger Spring in position.
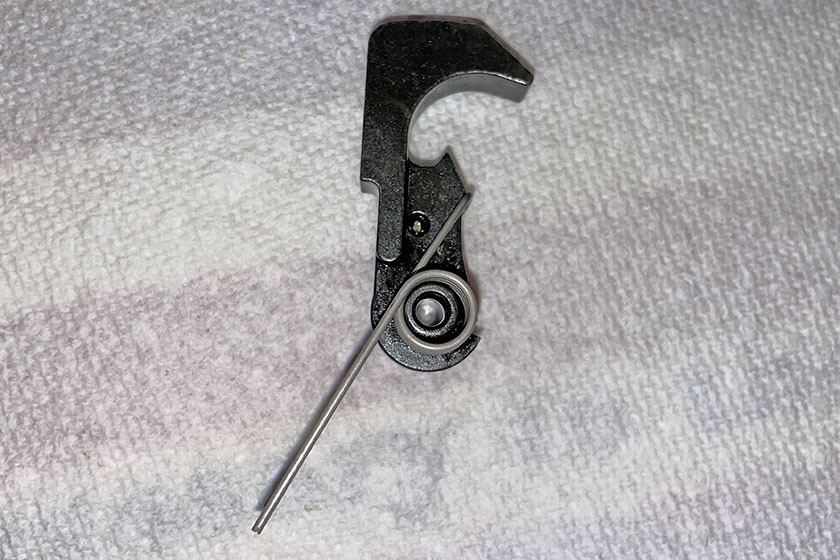
This is the Hammer with the Hammer Spring positioned correctly.
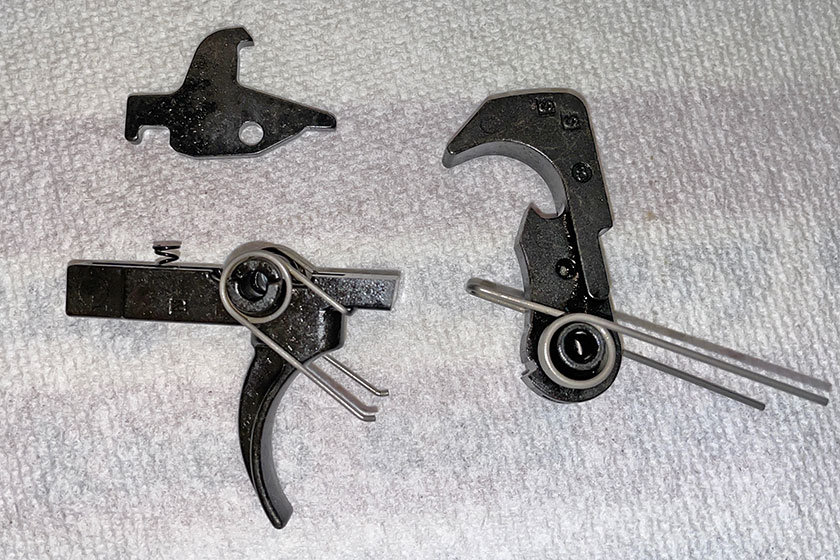
Here you can see the Trigger, Hammer and Disconnector. The way Disconnector is positioned over the Disconnector Spring when placed into the lower receiver. I watched this video a few times to see the process. It was very helpful. We’ll revisit this stuff, so keep it handy.
The M5 Additional Lower Parts Kit and the Base Lower Parts Kit are also included in the M5 MOE Lower Parts Kit. The one on the left has the Takedown and Pivot, Bolt Catch and Magazine Catch Button. On the right you’ll find more assorted springs and pins, the Selector (safety) and the Magazine Catch. We’re about to get into where each of those parts fit into the Lower Receiver.
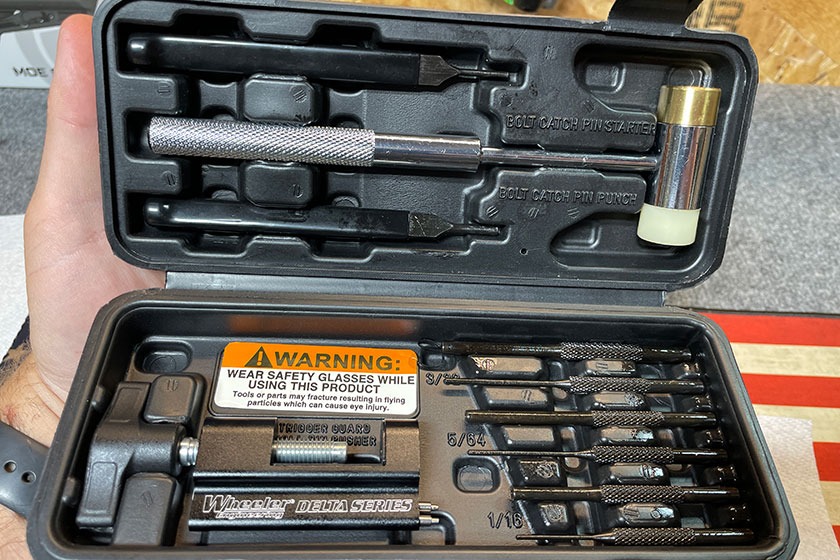
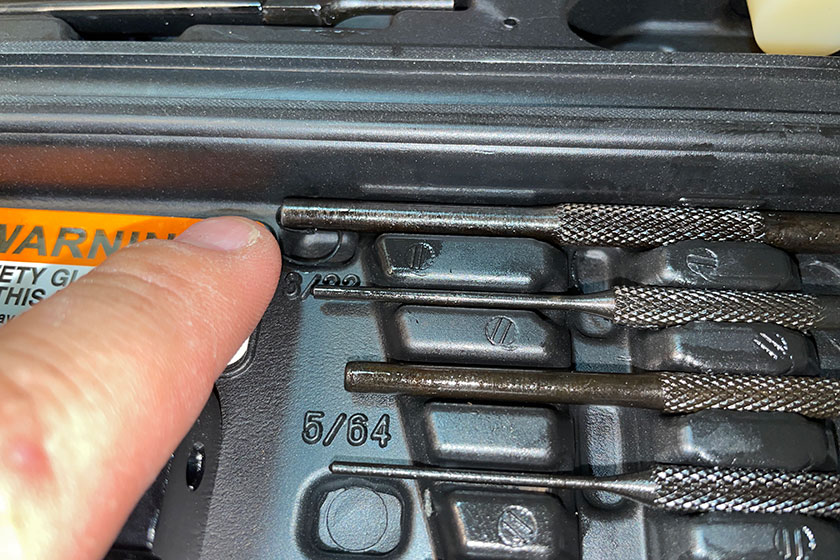
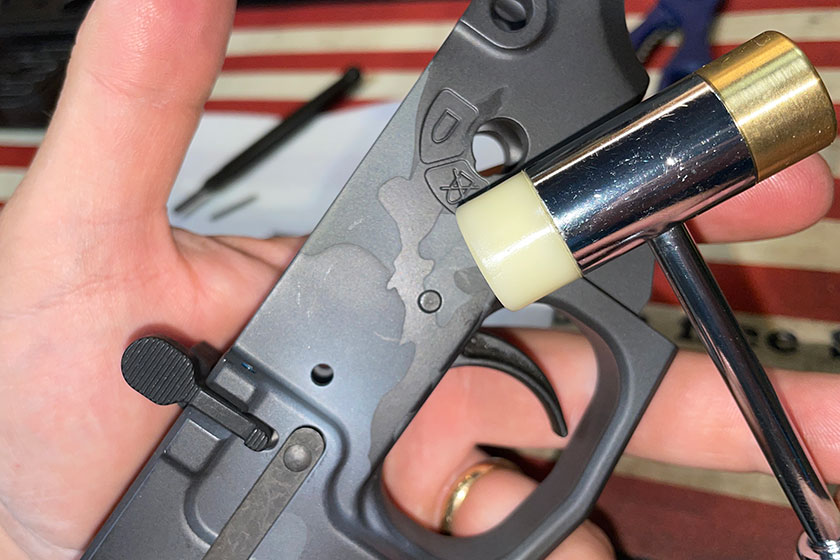
I told you from the beginning that I wanted to share my mistakes along the way. Well, to be totally honest, I didn’t really make any—didn’t even have to take anything apart and start over. The reason for that is I spent a great deal of time researching the project, and I found there were certain tools that were built to make this task as simple as possible. I went all-in and bought the Wheeler AR Armorer’s Ultra Kit, which has countless gadgets that make AR construction a snap. Not just any old tools, now. Actual items that you can’t complete this project without. Yes, it’s expensive coming in at $334.99, but you’ll spend that and then some to buy the individual parts somewhere else. Wheeler has it all in one convenient package. Plus, if you intend to continue buying and building kits, this thing will get plenty of use. Buy it, trust me on this. Anyway, this little box, which is inside the Armorer’s Ultra Kit, contains assorted punches and a soft-tip hammer that works perfectly for setting pins.
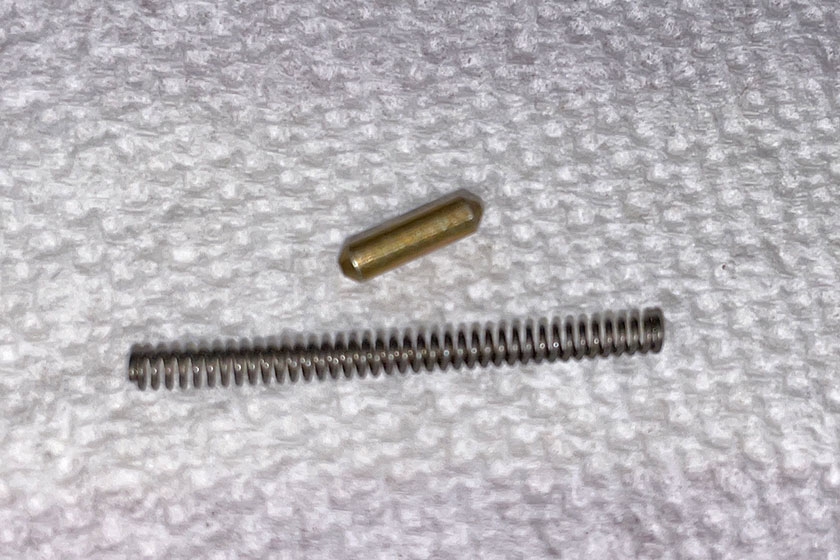
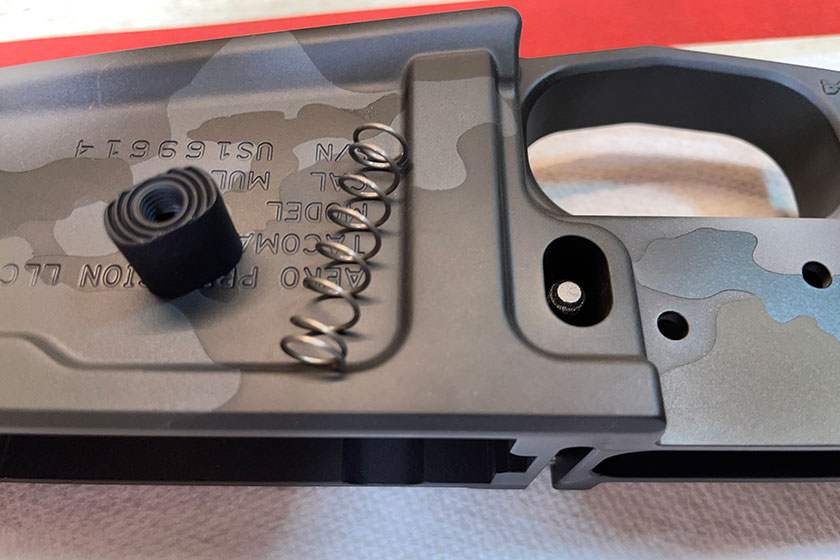
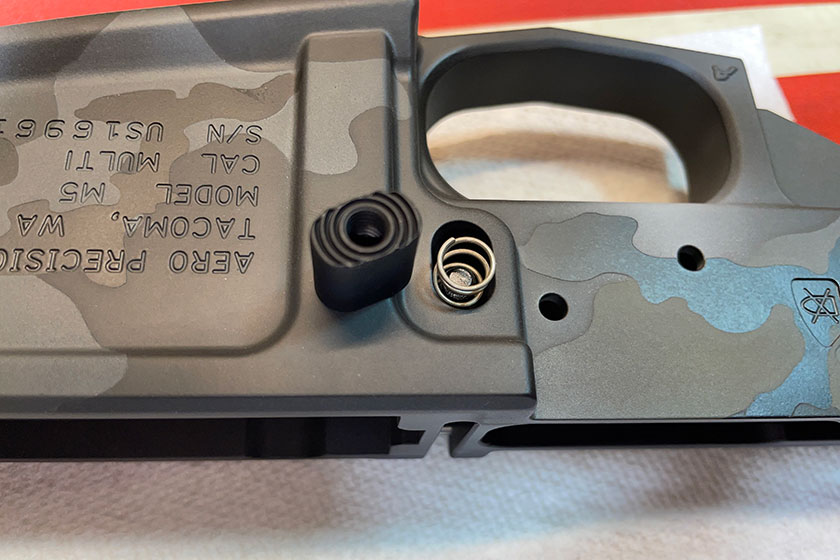
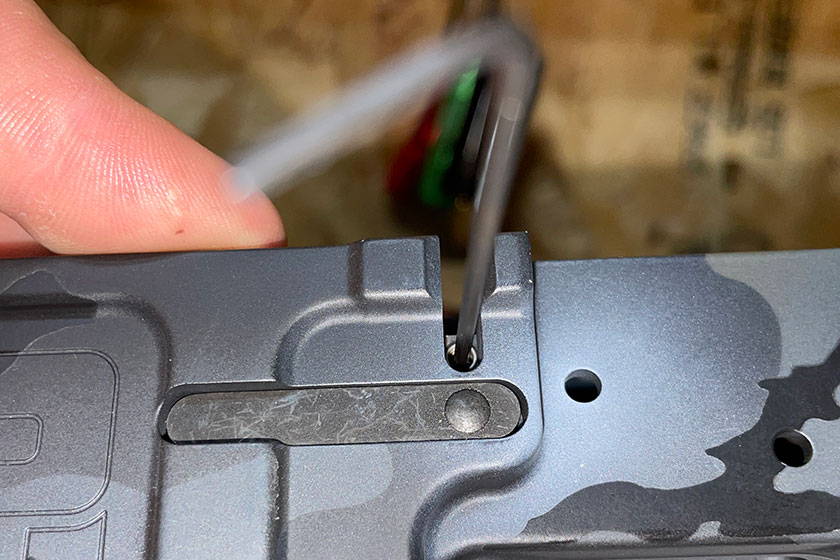
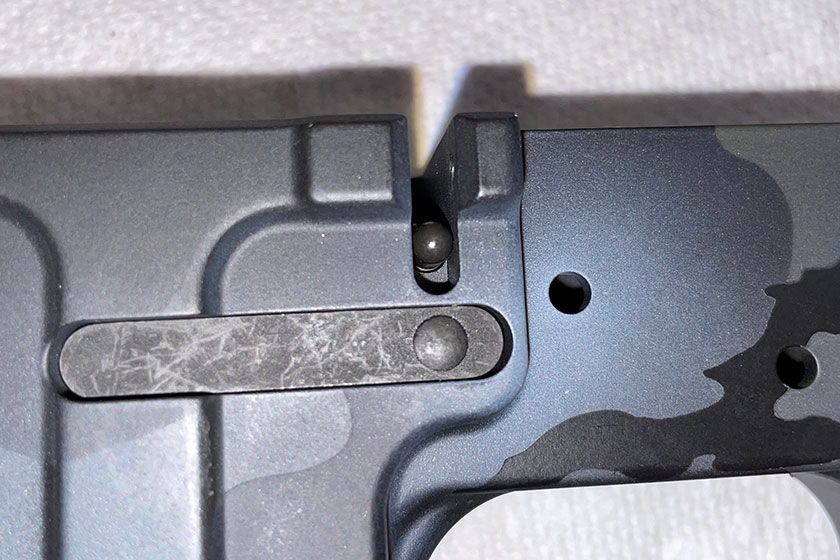
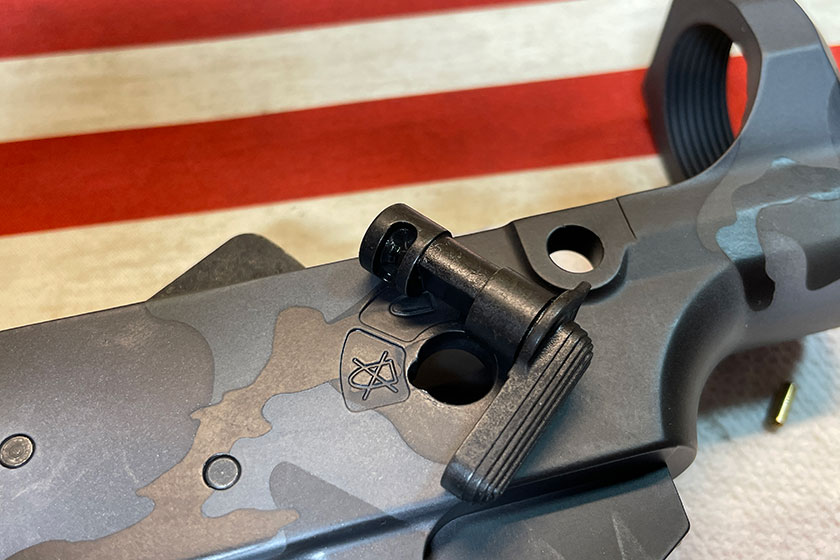
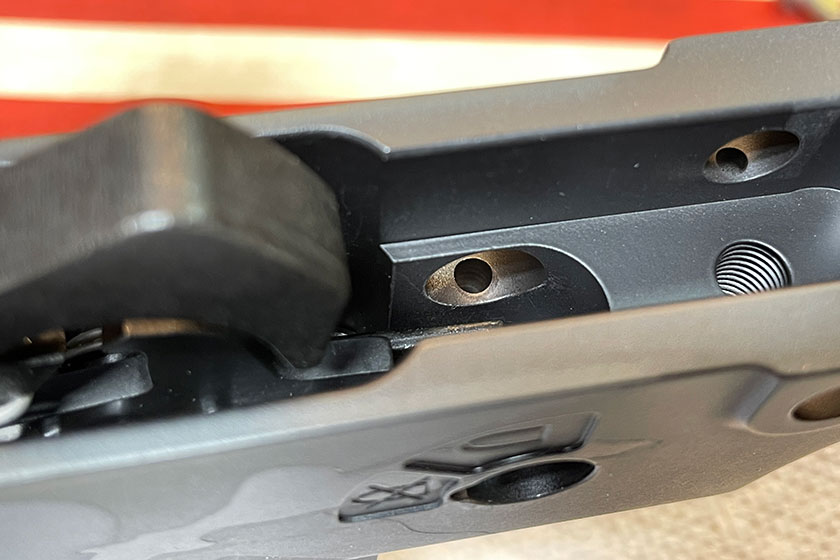
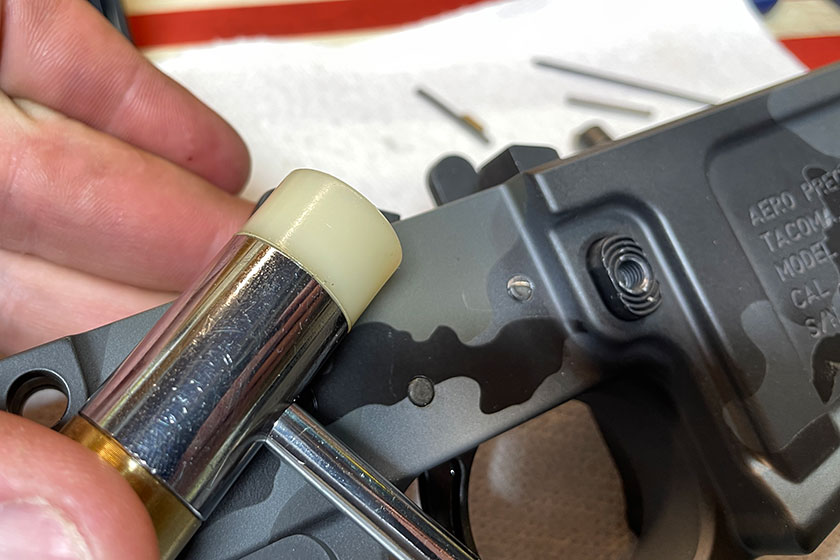
This Pivot Detent Spring and Pivot Pin Detent are used to compress and lock in the front Pivot Pin, which is where the Lower Receiver connects to the Upper.
The small hole you see at the top in the front is where you place the Pivot Detent Spring followed by the Pivot Pin Detent. Beware, if you don’t use one of those small punches in that box we just talked about and keep the small pin down while you slide the main Pivot Pin into position. If you don’t watch what you’re doing, the spring and pin will shoot out of there like a bullet and take your eye out.
Here’s the reverse view where you can see the where the Pivot Pin Detent fits into the slot of the Pivot Pin.
This is the Magazine Catch that is positioned on the left-hand side of the Lower Receiver. Notice the threaded tip: that’s where the Magazine Catch Button will be attached, the Magazine Catch Spring goes over the Magazine Catch shaft.
The Magazine Catch spins into position, but don’t put too many turns on it, otherwise the whole component gets too tight and won’t release the magazine as easily. Plus, if you screw it in too far, you run the risk of scratching the lower receiver’s finish, Ain’t nobody got time for that.
This is the opposite side button and spring. In the hole you can see the mag catch positioned from the other side.
Slide the spring on the catch post, place the button on and screw it on from the other side.
Grab this punch out of the Wheeler Armorer’s Kit.
Place it on the Magazine Catch Button …
Use the punch to press the button into the Lower Receiver so the threaded end of the mag catch can reach the inside of the button.
Another important part of my AR-build education occurred at YouTube University. If you have any questions during the process, don’t hesitate to search the YouTubes—there are answers there.
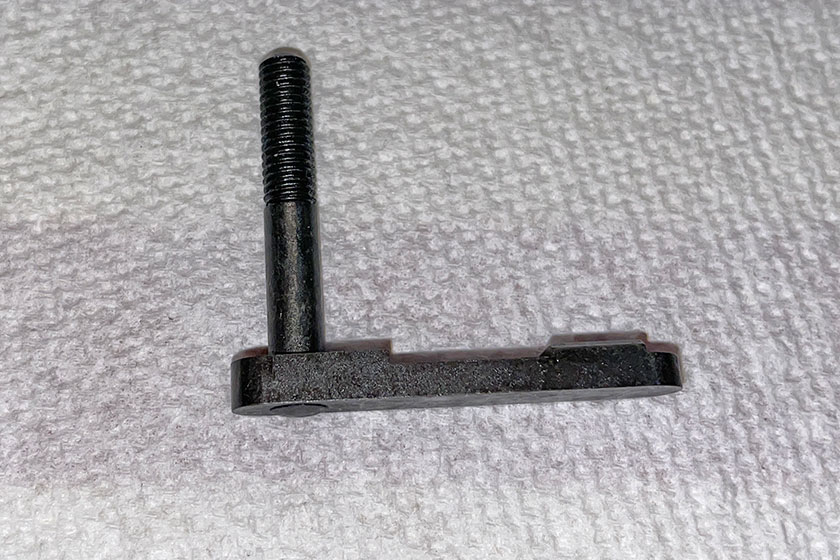
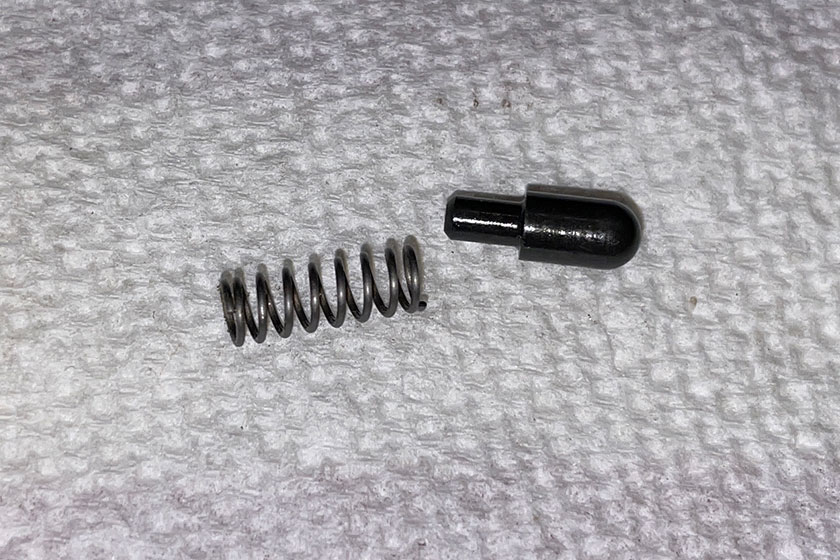
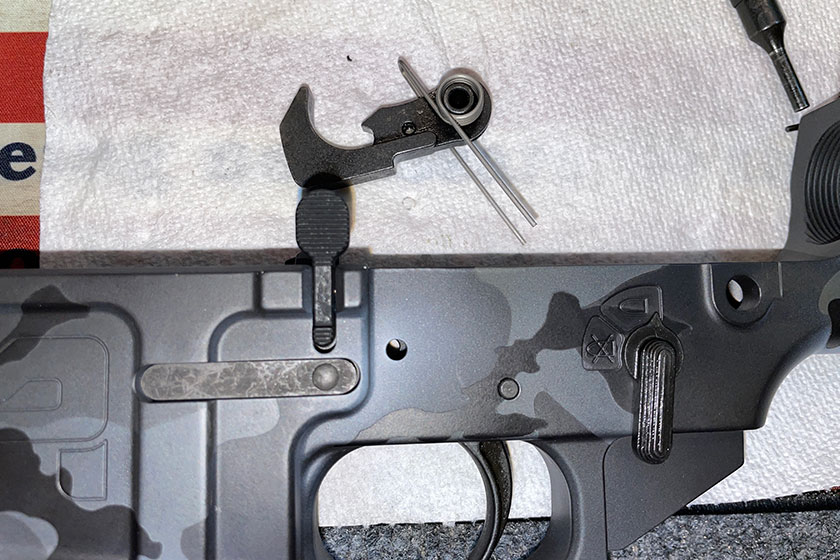
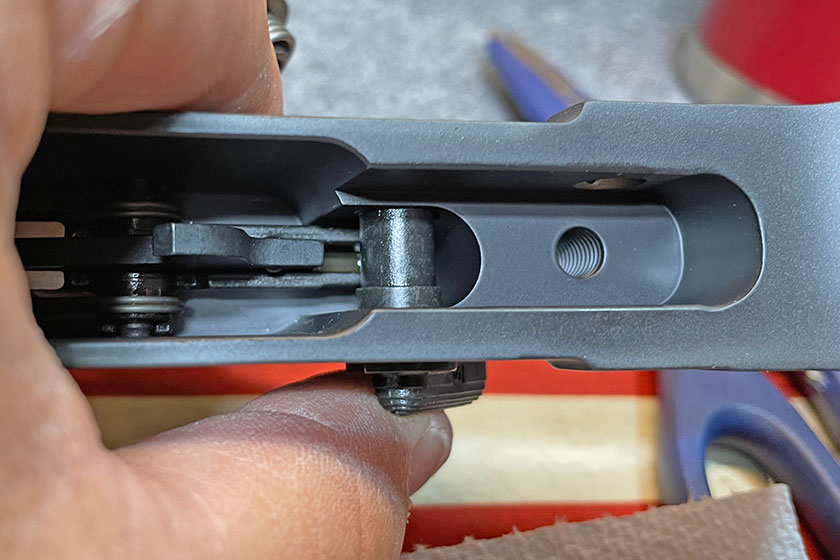
This is the Bolt Catch.
Here is the Bolt Catch with the Bolt Catch Spring.
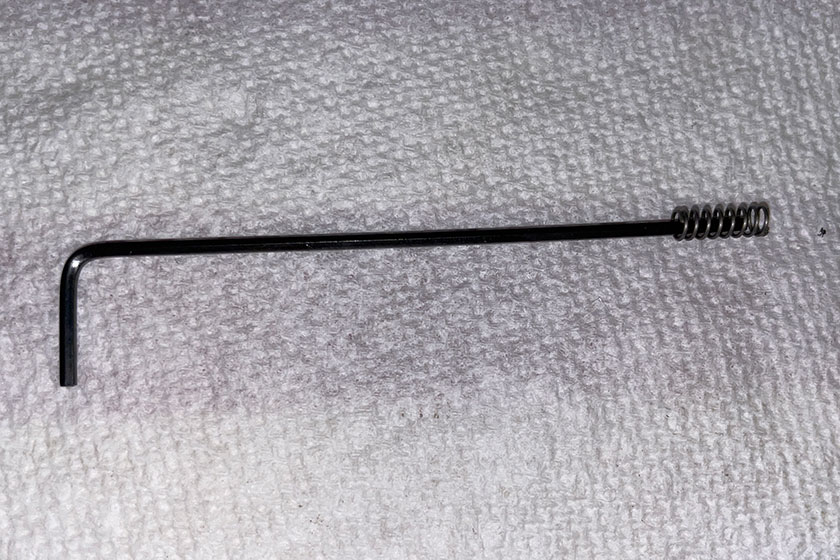
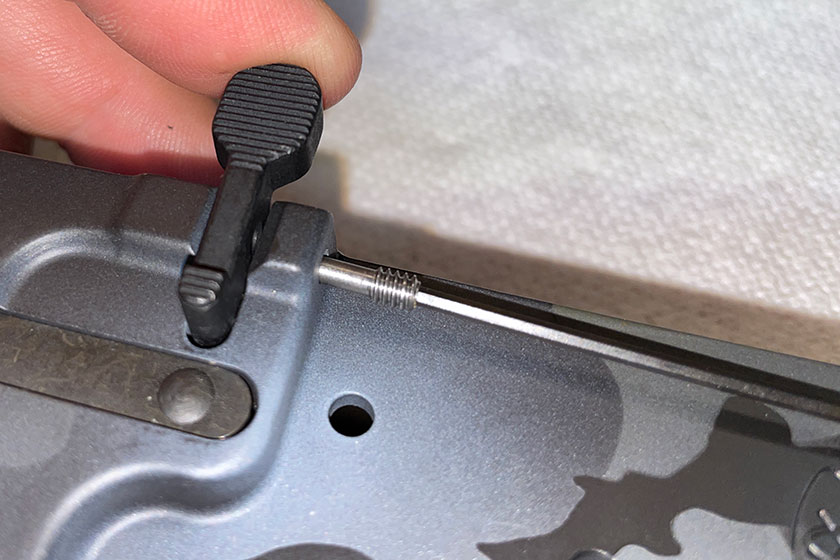
Use an allen wrench to position the spring. I tried this a few times with my fingers and kept dropping it inside the Lower Receiver.
Here is the spring in position with the allen wrench being used as an extension.
The Bolt Catch Buffer fits inside the spring.
In this picture you can see the catch buffer in position.
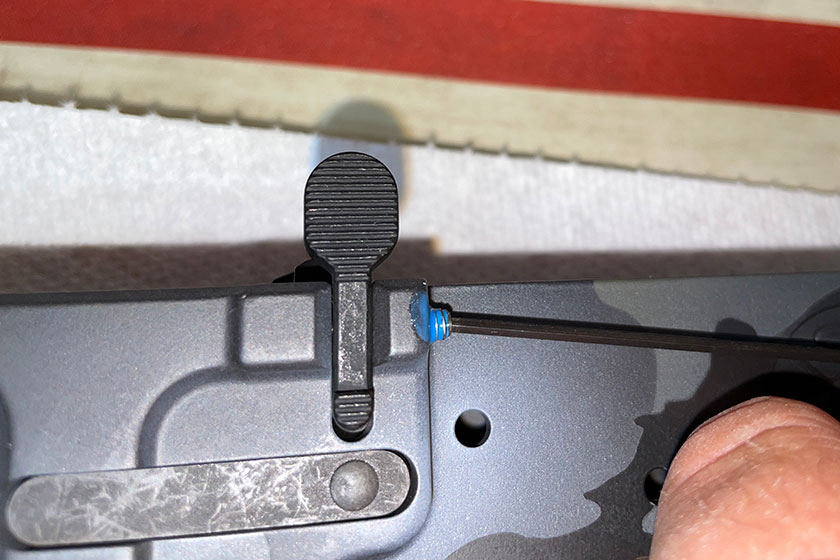
The Bolt Catch gets fastened with an allen wrench, the same one that was just used to place the spring.
Add a little Loctite Threadlocker 242 to the threads of the screw. It’s worth noting this stuff is not permanent glue and it is removable with hand tools.
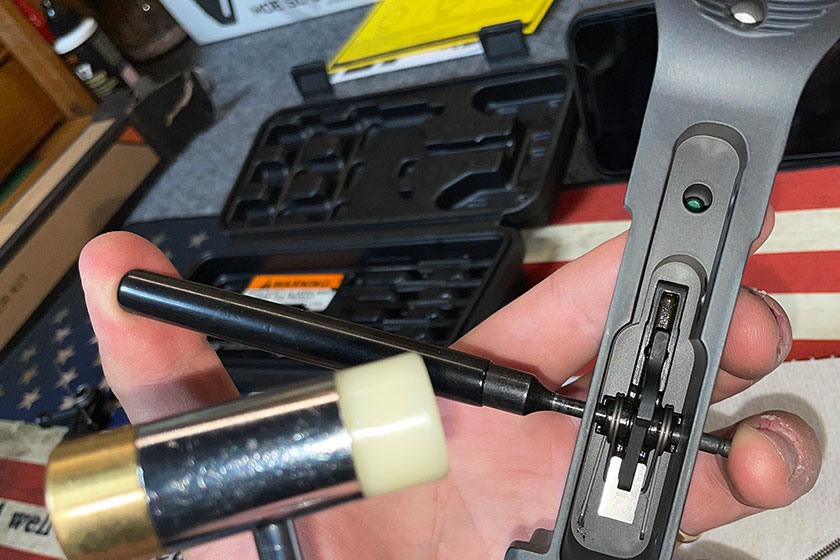
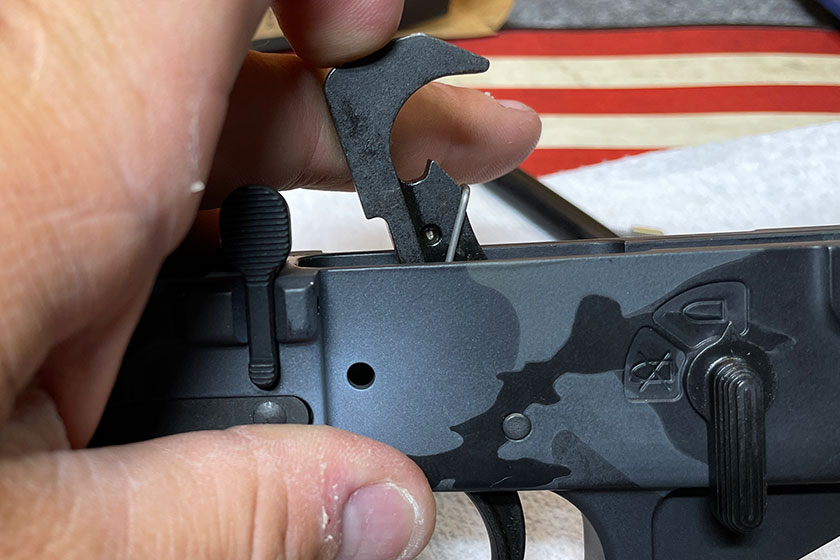
Here the trigger component is in position to be placed inside the Lower Receiver.
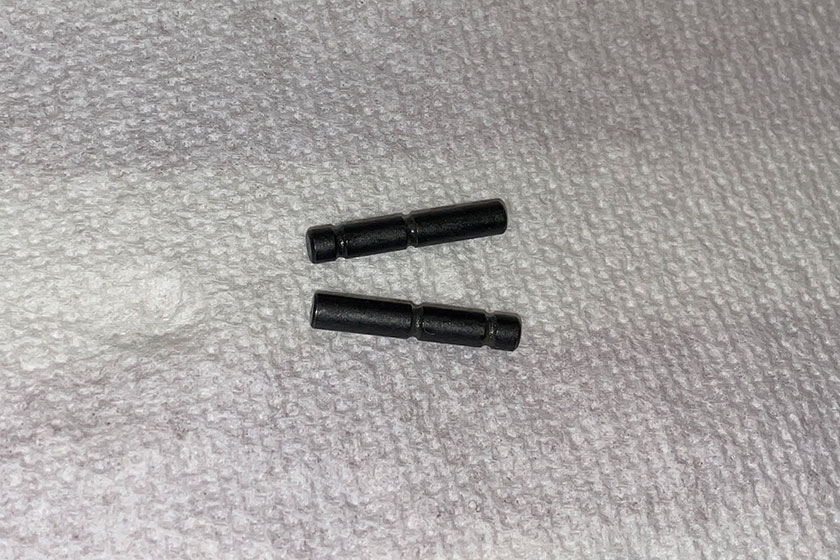
Here are the Trigger Pin and Hammer Pin, both basically do the same thing.
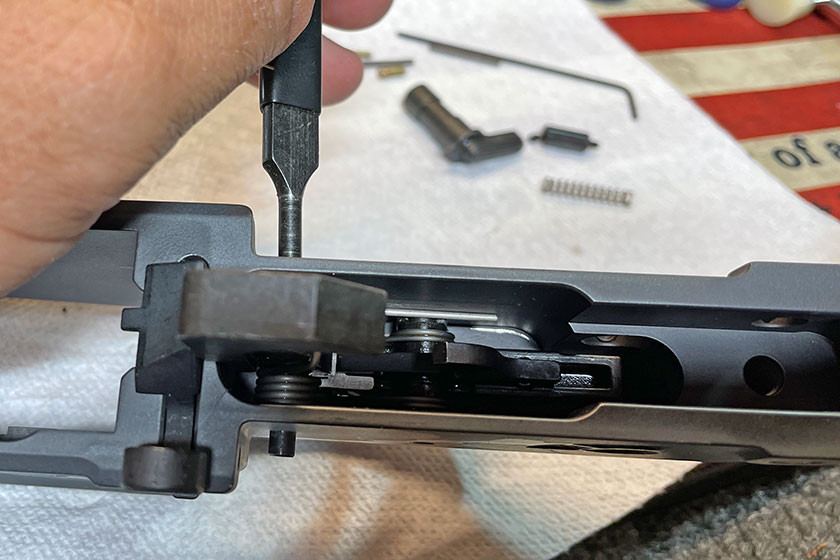
Keep the punches handy and use the included hammer to get the pins started.
Gently pound the pins into place.
Here’s how it looks installed.
The Hammer is in the position it needs to be in as it gets placed into the Lower Receiver. This will assure the tension is coming from the correct direction.
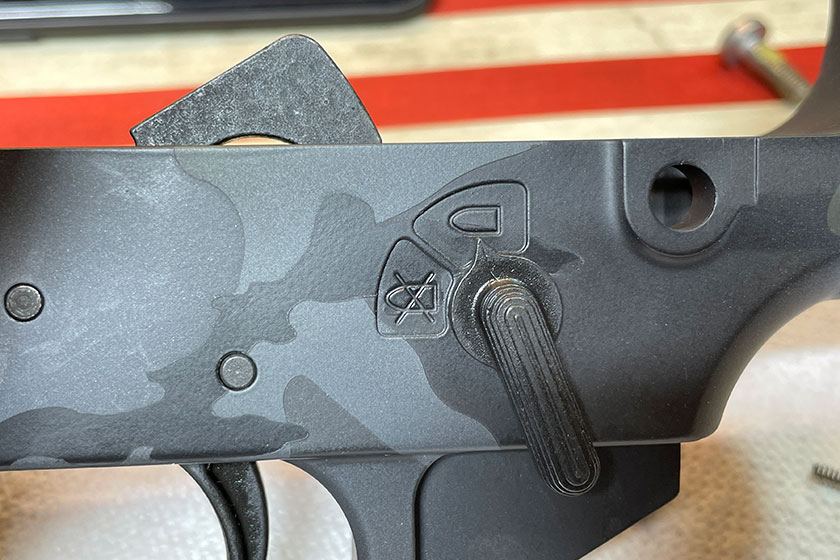
Get the Selector handy, it’s best to install it in conjunction with the Hammer.
It will easily slide into position, and you can rotate it into place.
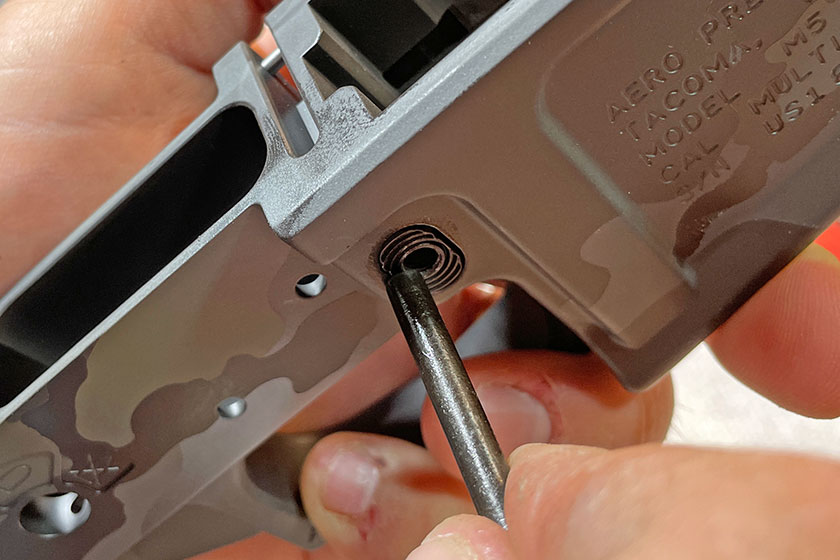
The Selector Spring and Selector Detent, in that order, slide into that port. Again, hold it in with a punch of adequate size to compress the pin and spring so you can correctly position the Selector. Just remember, it could slip and shoot out of there like a bullet. Be careful.
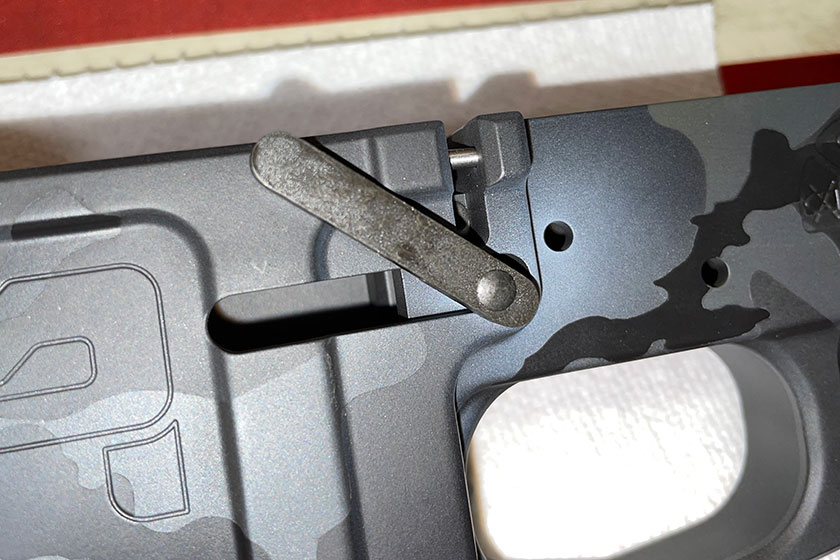
Here is a shot of the Selector in position.
Place the Hammer in with the Hammer Spring loaded as described above.
Line up the pin, utilize the punch to get the pin started.
Gently tap it though.
The Trigger and Hammer are in place.
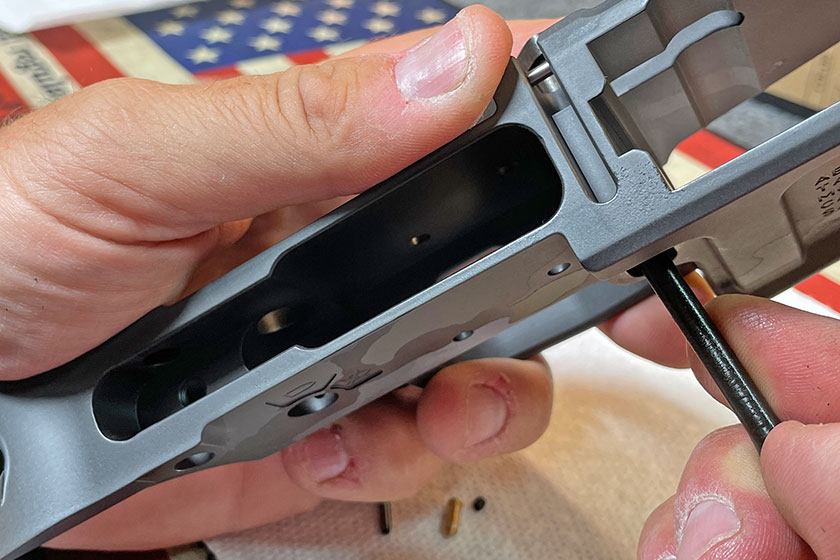
Here is the Hammer in the cocked position with the Selector in the fire position. Don’t dry fire it in this position, slowly ride the Hammer forward into the resting position.
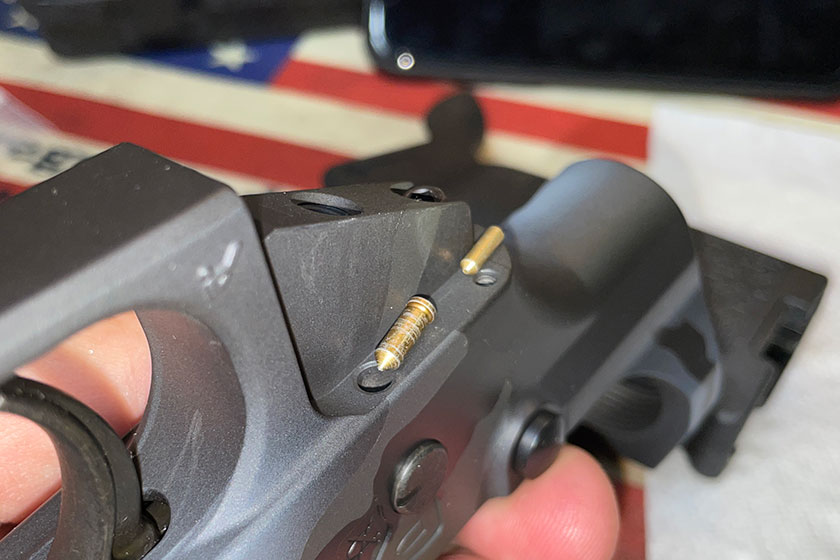
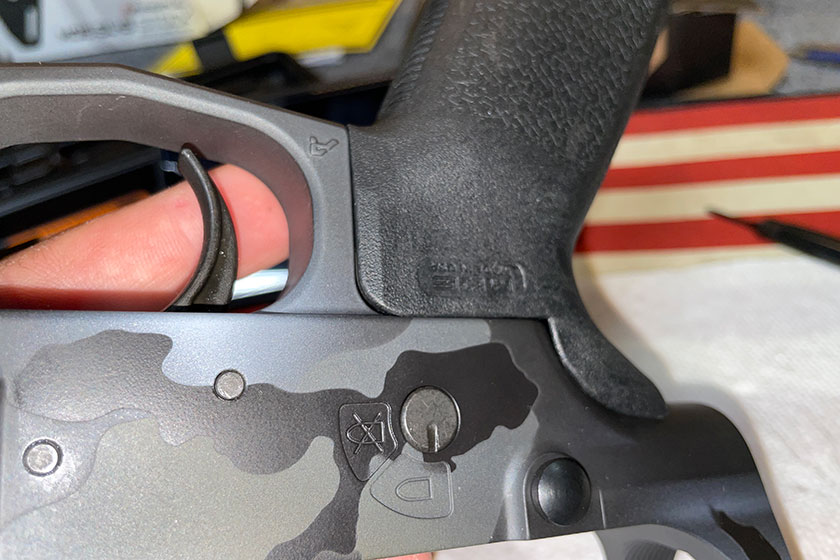
Moving to the Magpul grip installation, there are a few components and assembly steps to get it into place. Notice the two holes near the lower part of the image, that’s where a couple springs and pins need to be placed, an installation maneuver that takes a little coordination.
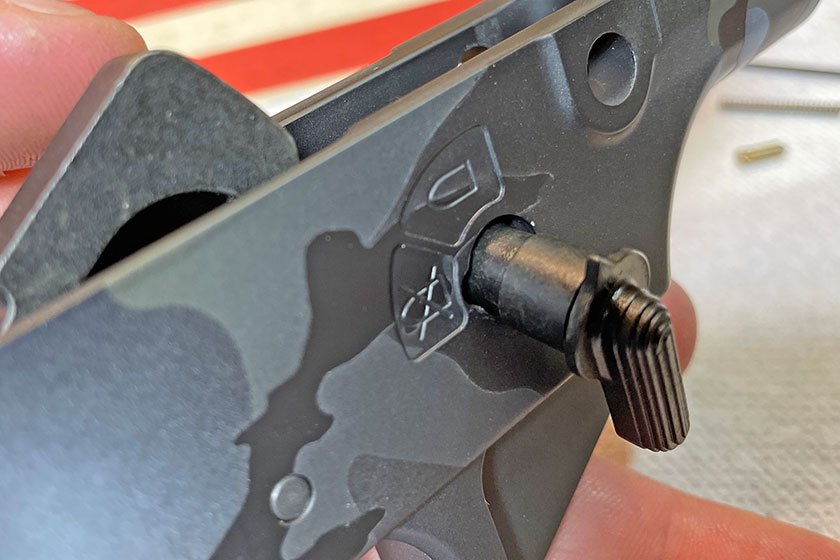
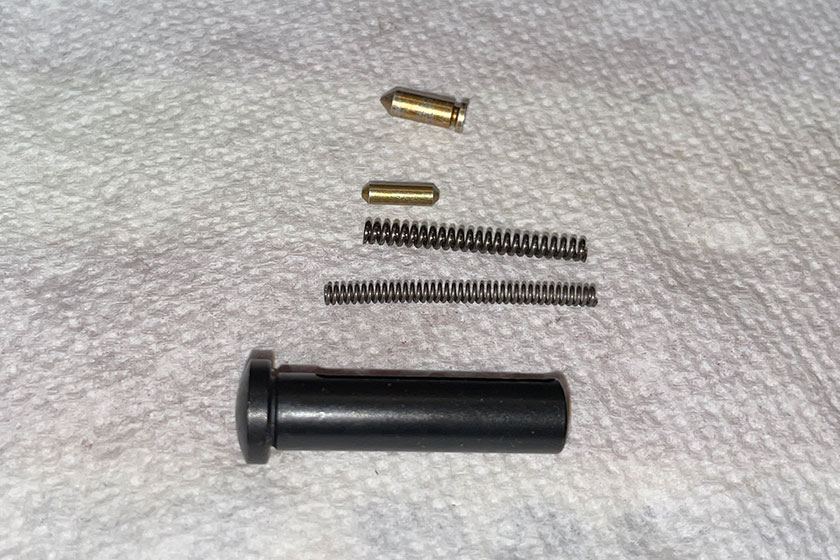
On the bottom is the Takedown Pin. It locks into place with a Takedown Pin Detent and Takedown Detent Spring, just like the front.
The larger pin is the Selector Pin and the smaller one is Takedown Pin Detent.
Here is the Takedown Pin, and you can see where it locks open: the pin hits that little dimple and locks it into place.
The Takedown Detent Spring is in the back, and the Selector Detent is in the hole in the front.
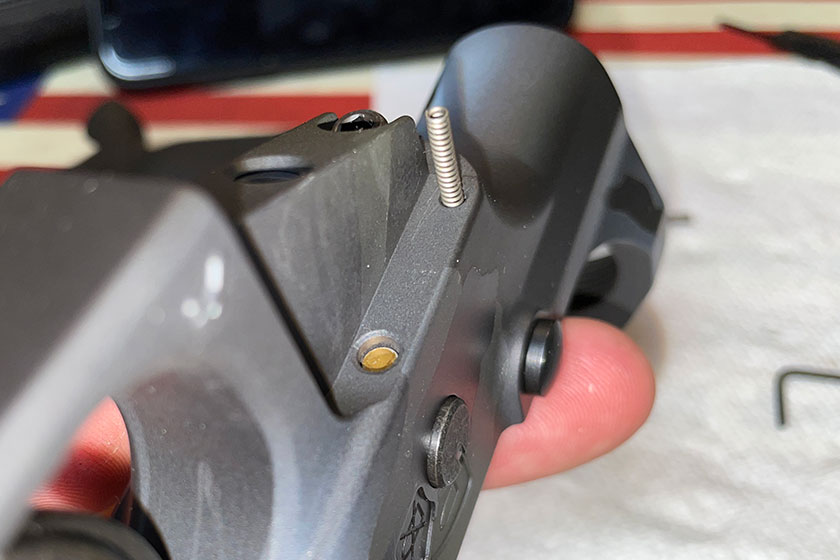
The Magpul grip has one hole on top, slide the spring in and position it to be attached to the Lower Receiver.
Here is the grip with the spring in place.
It takes a little coordination but get the two springs lined up and slide the grip on.
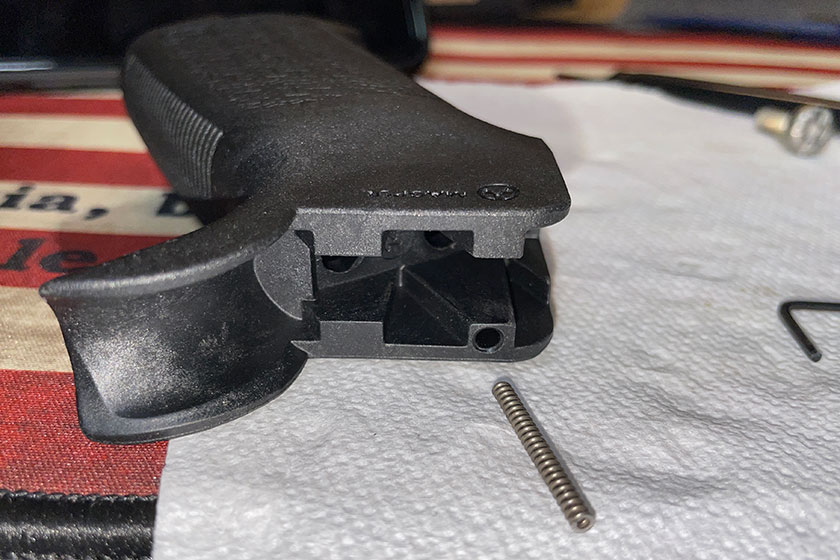
It’s snug and it fits perfectly.
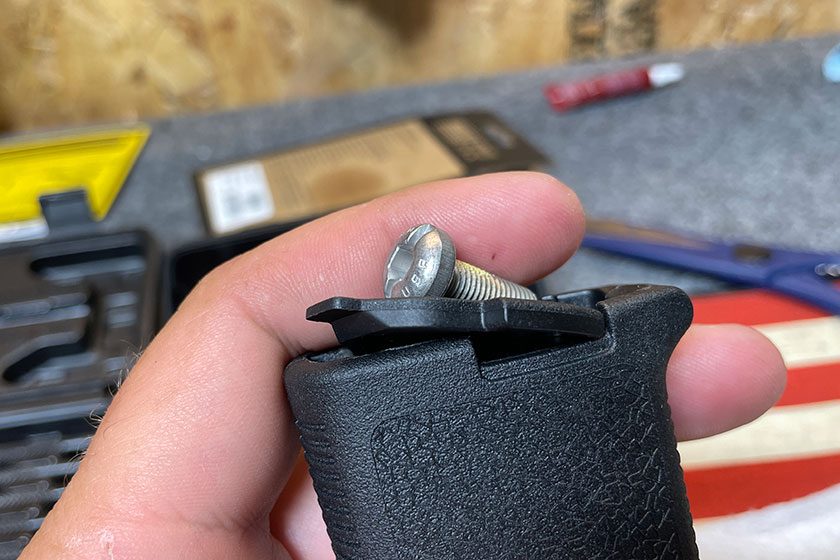
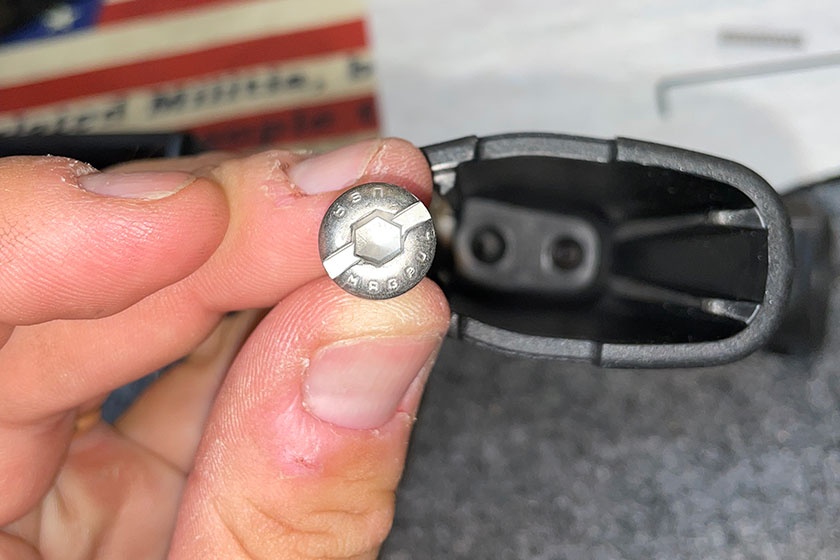
There is a small “door” on the base of the grip, it just pops off. The screw fits inside the base of the grip where it attaches to the Lower Receiver.
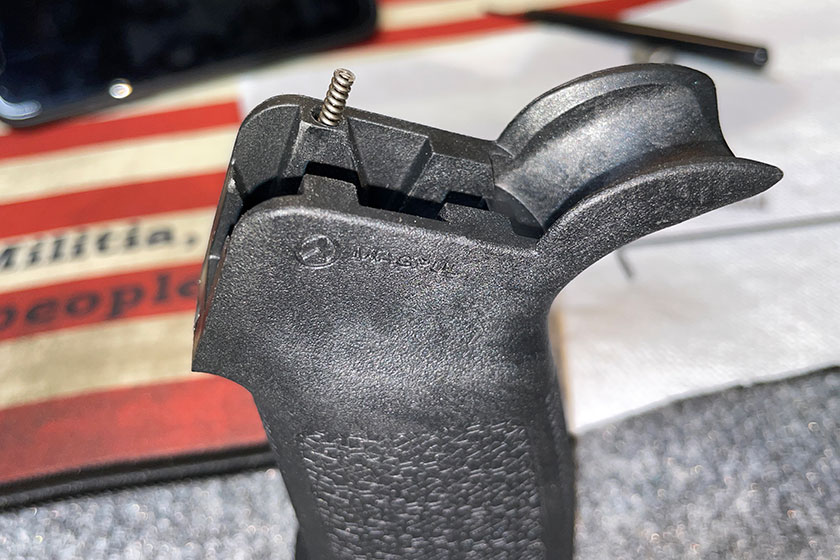
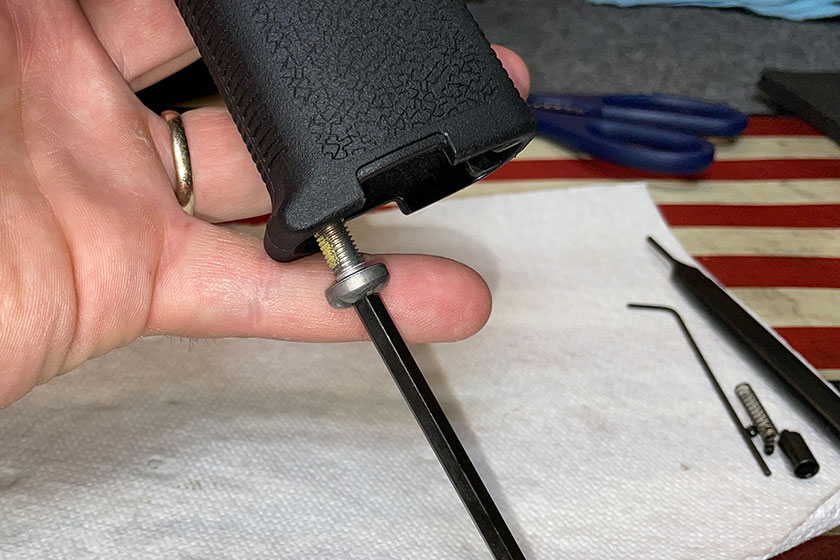
This screw requires an allen wrench and the screw goes into the left hole in the base of the grip.
It’s easier to place the screw in the bottom of that grip if you hold it up as it is in this image. Or, if you have magnetic allen wrenches, that will save a lot of cuss words. Tighten it down and replace the grip “door.”
The Lower is fully assembled and ready for the stock assembly, and Part 2 will cover that process.
Tom Harrison is lifelong Midwesterner and a 25-year veteran angler, whitetail and turkey hunter. His experience extends from the bass rich waters of Mexico well into northern Canada, he's successfully hunted turkeys in 13 states, whitetails in five states and one Canadian province. Harrison has been producing instructional content, speaking at tradeshows and outdoor talk radio/podcasts and creating videos for two decades regarding both the hunting and fishing in an undying effort to help others be the best they can be in the outdoors. His overall goal is to make success commonplace on the water or in the woods through hard work and a strong desire to learn.
Recent Articles
Gun Talk Media Launches New TV Network
One Rifle for Every Hunt: The Browning X-Bolt 2 Special Max LR SPR Is the Do-It-All Bolt Gun 2026 Needed
S&W Just Dropped the Most Thoughtful Lever-Action Commemorative of 2026. Two Origin Stories. One Beautiful Rifle.